About FICMS®
FI Content Management System (FICMS®) is a very powerful, privately owned closed-source content management system (CMS) developed over the years to fully support the direct needs of the modern website design & development industry. You couldn’t ask for a simpler way to add and manage website content. FICMS’s publishing features are broad, comprehensive, and highly flexible.
The purpose of this document is to help guide you toward understanding how to use FICMS and all of its features to efficiently manage & maintain your website.
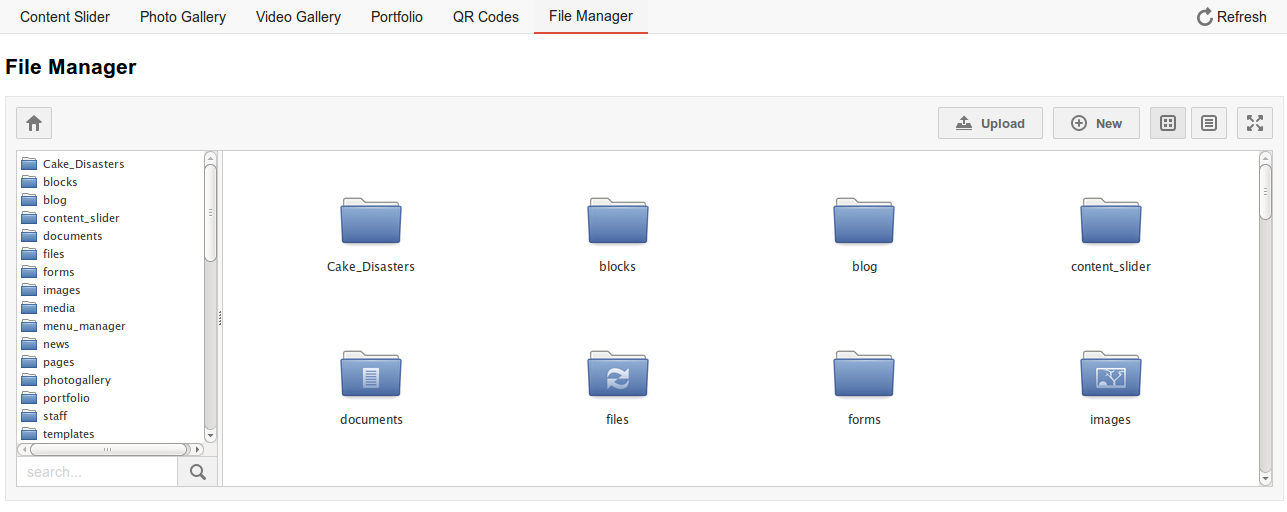
Common Options Across All Modules
The following options are present in the administrative panel across all of FICMS’s sections/modules. Take a moment to familiarize yourself with what each one of them does.
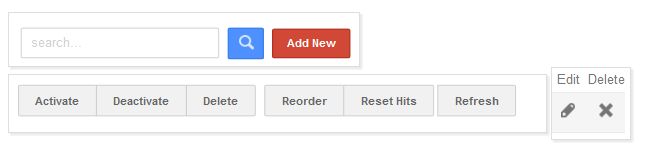
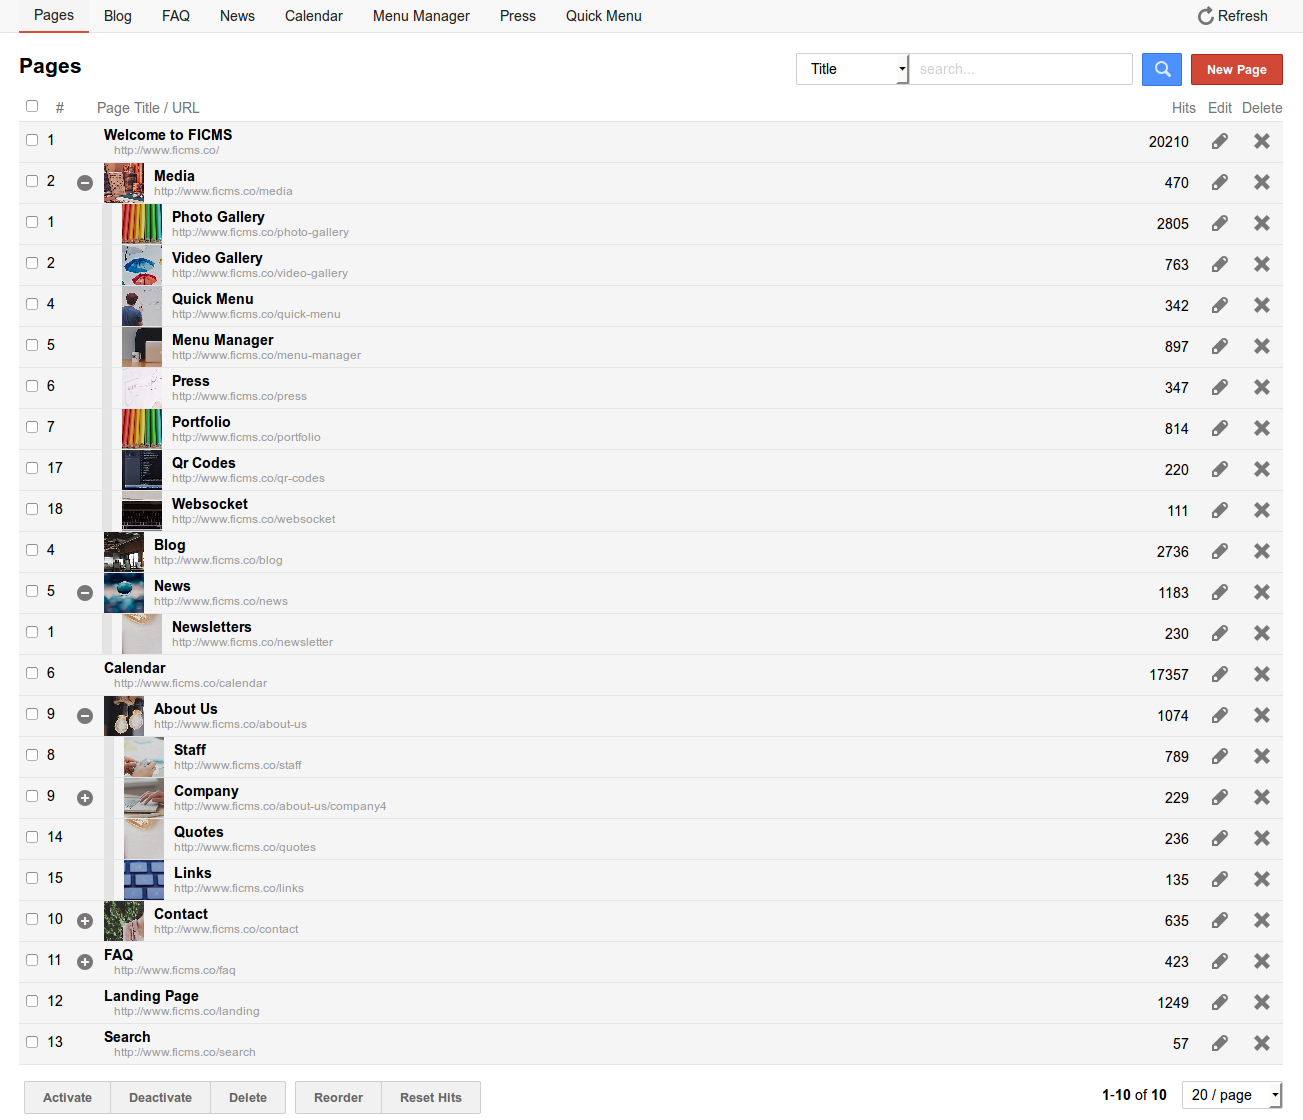
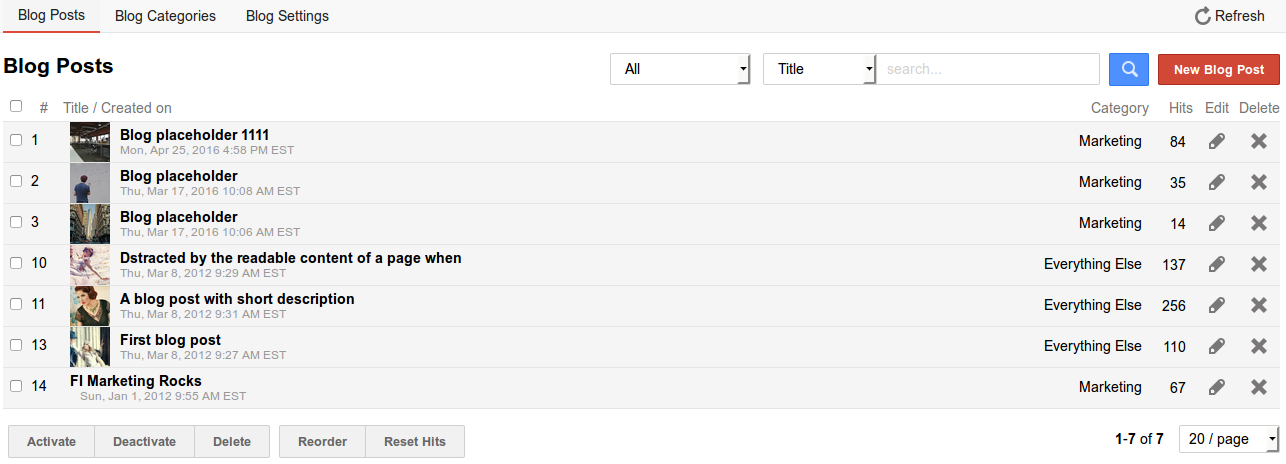
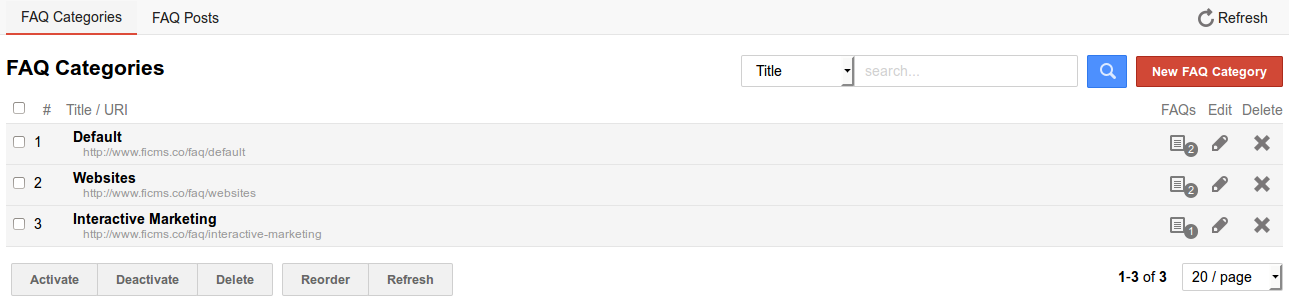
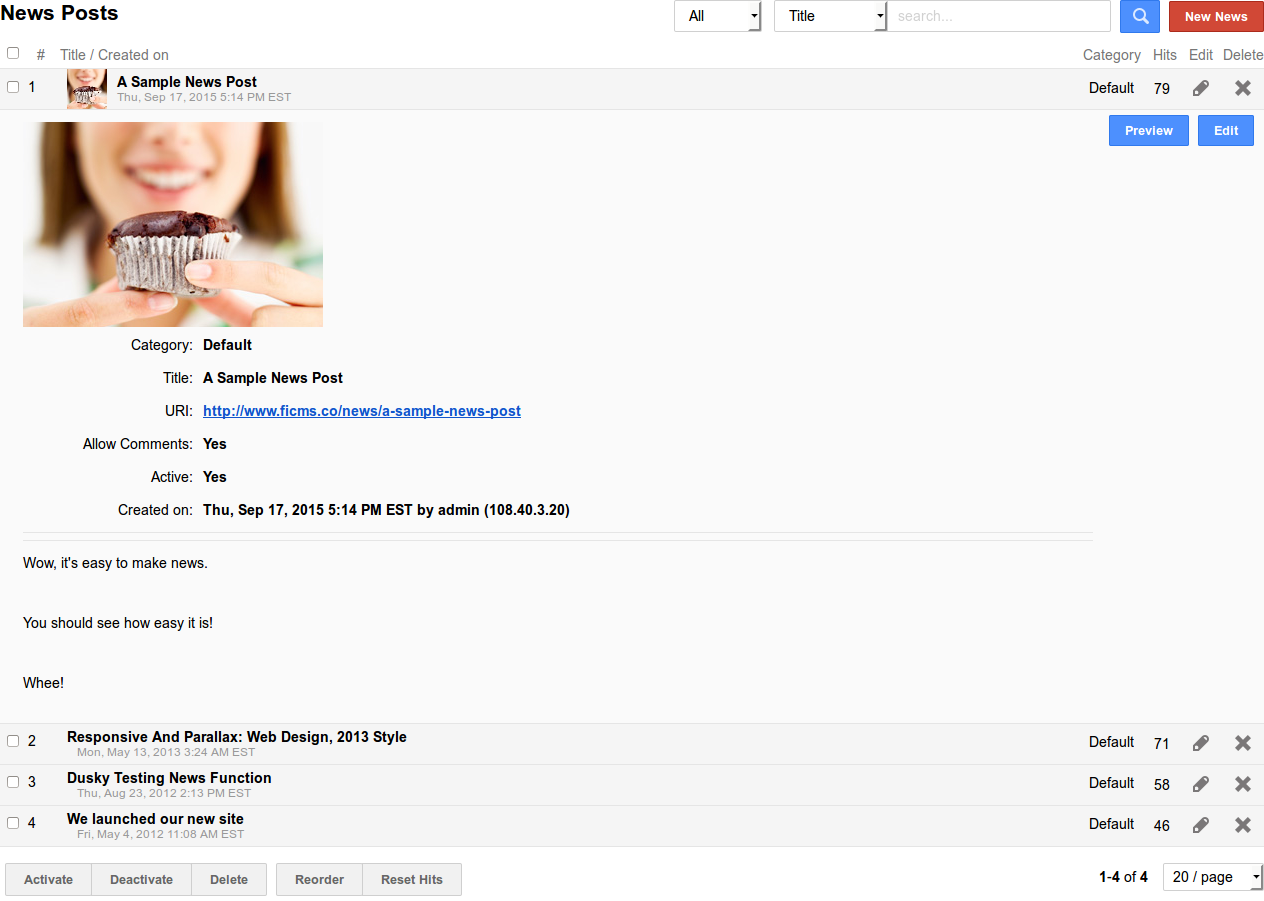
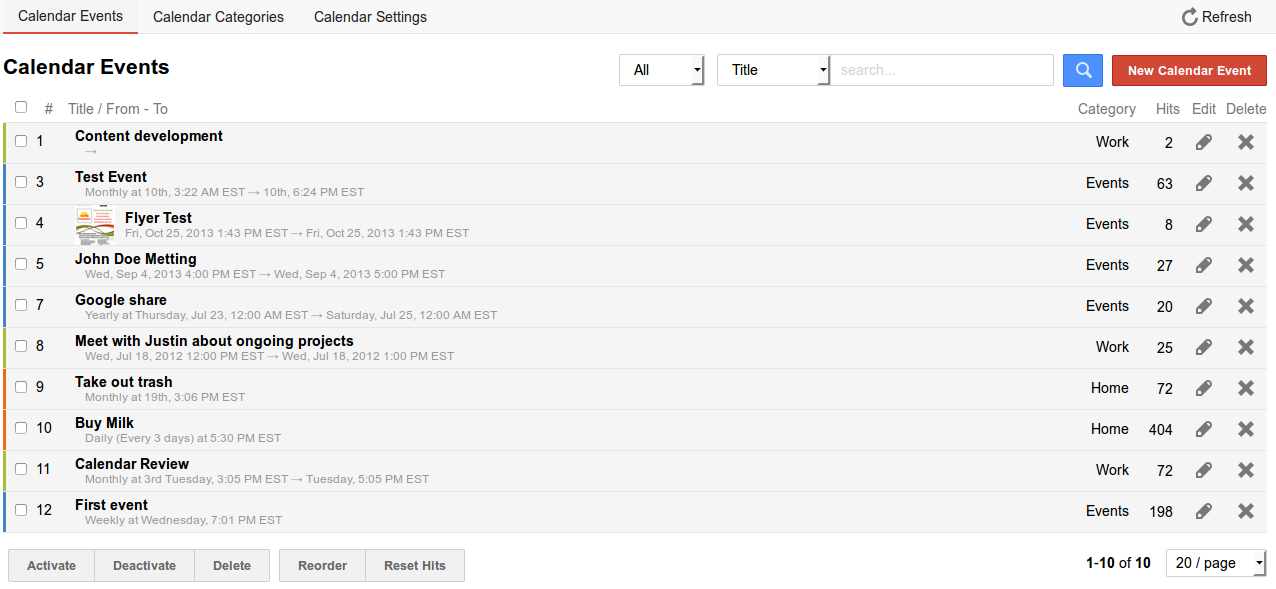
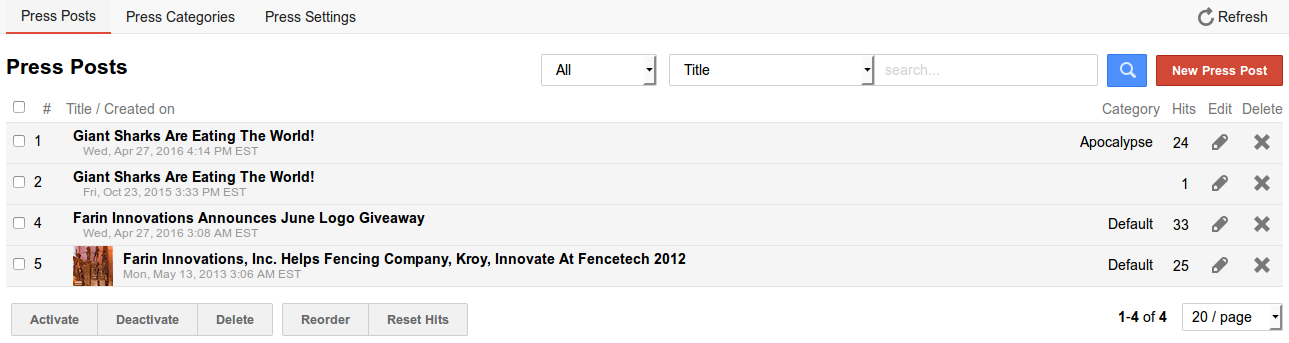
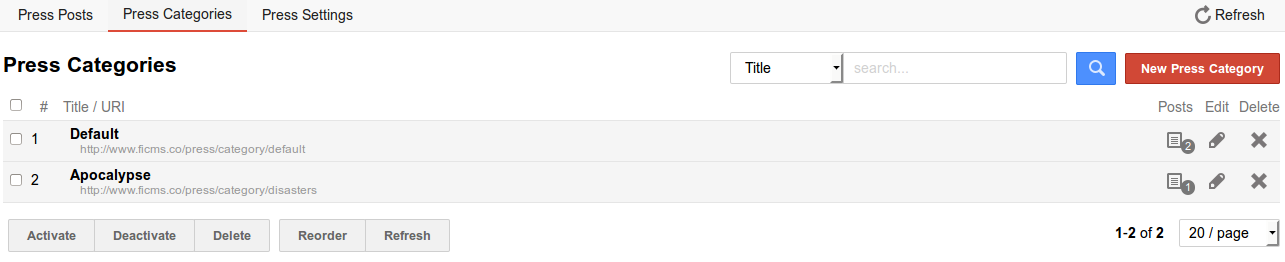
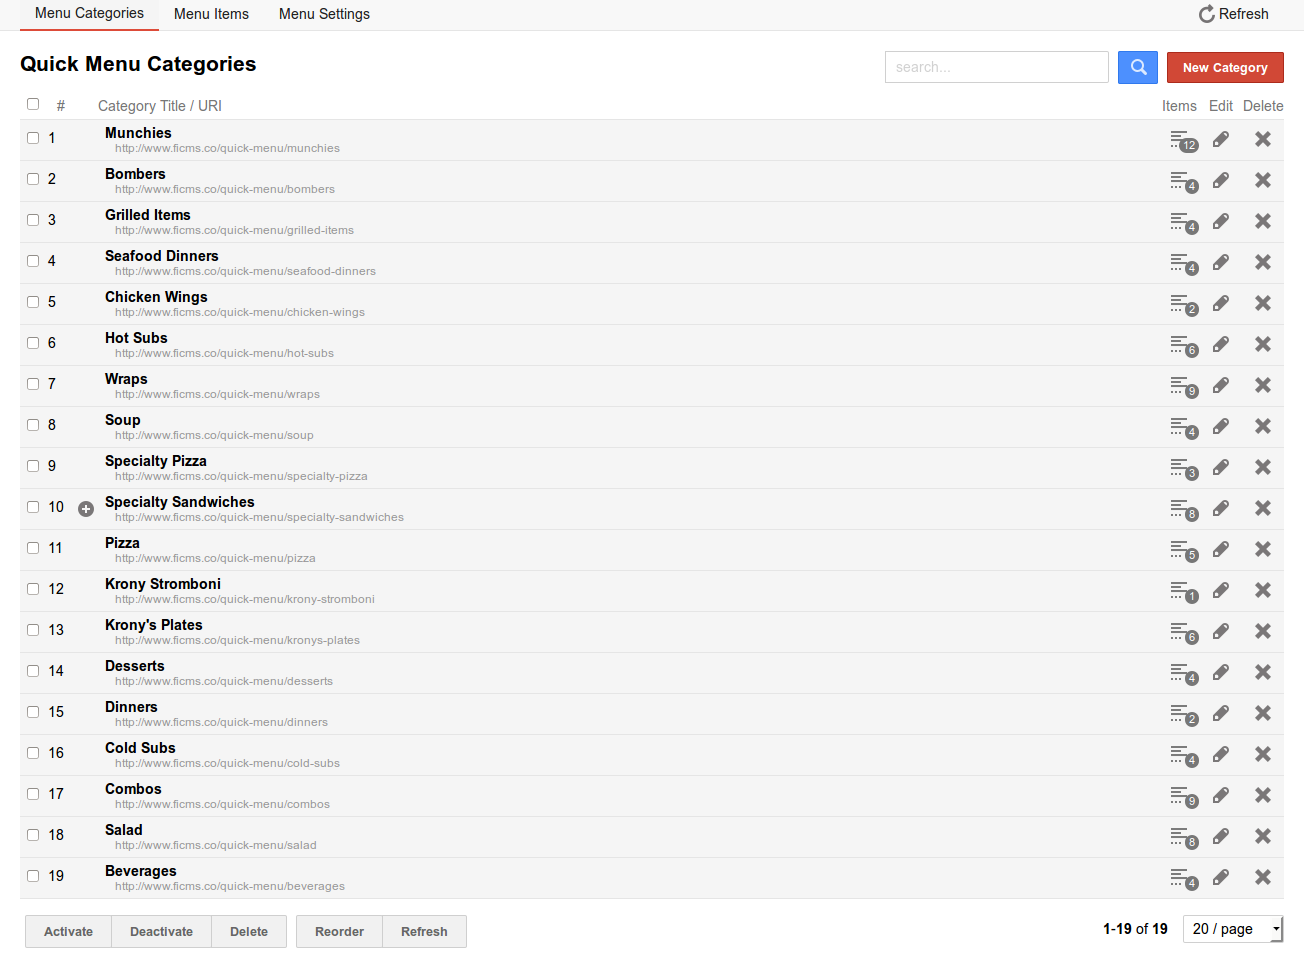
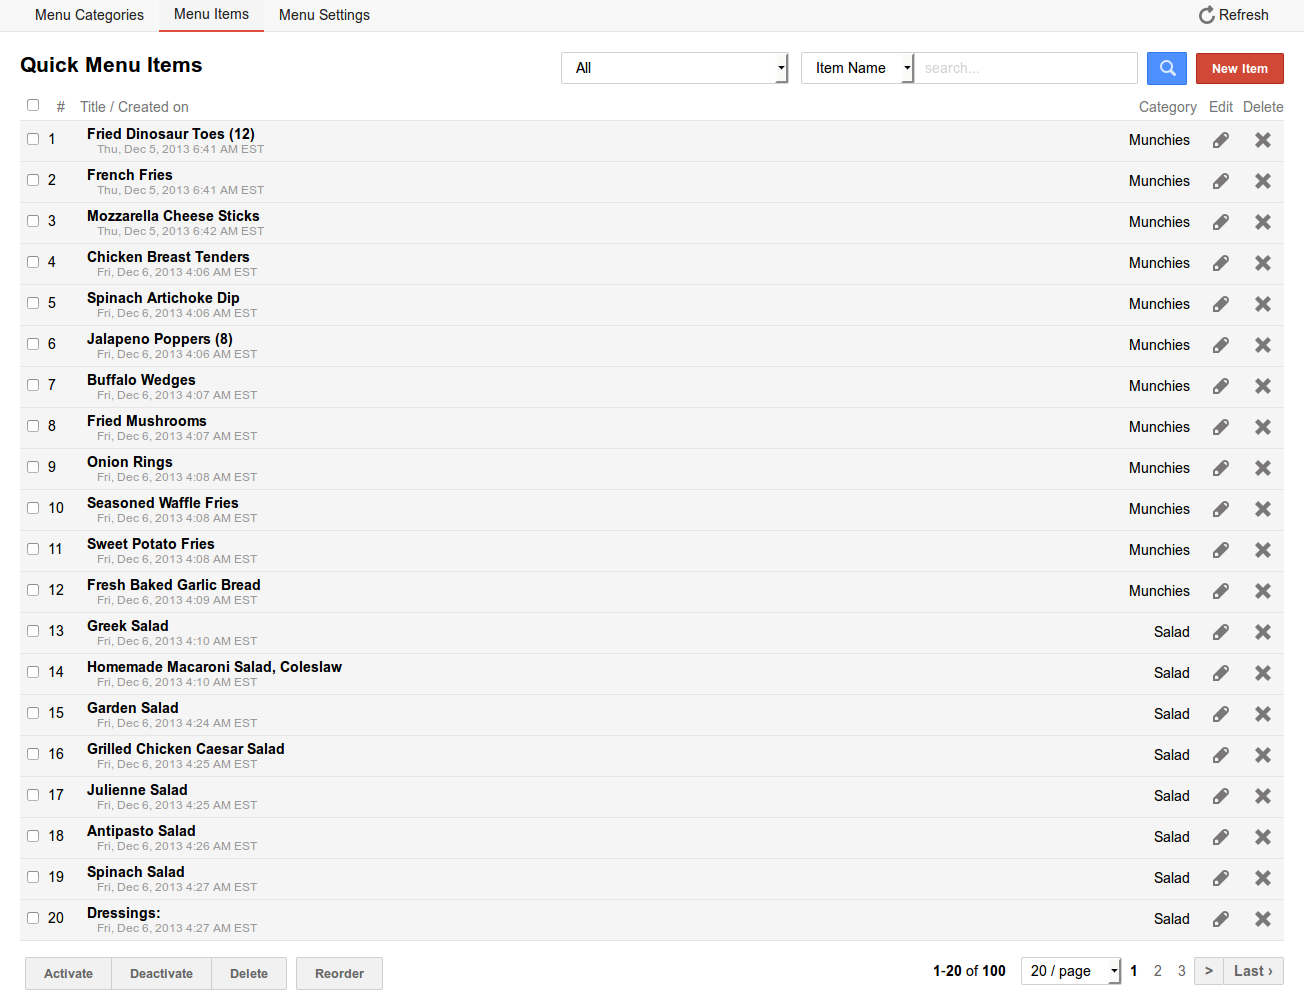
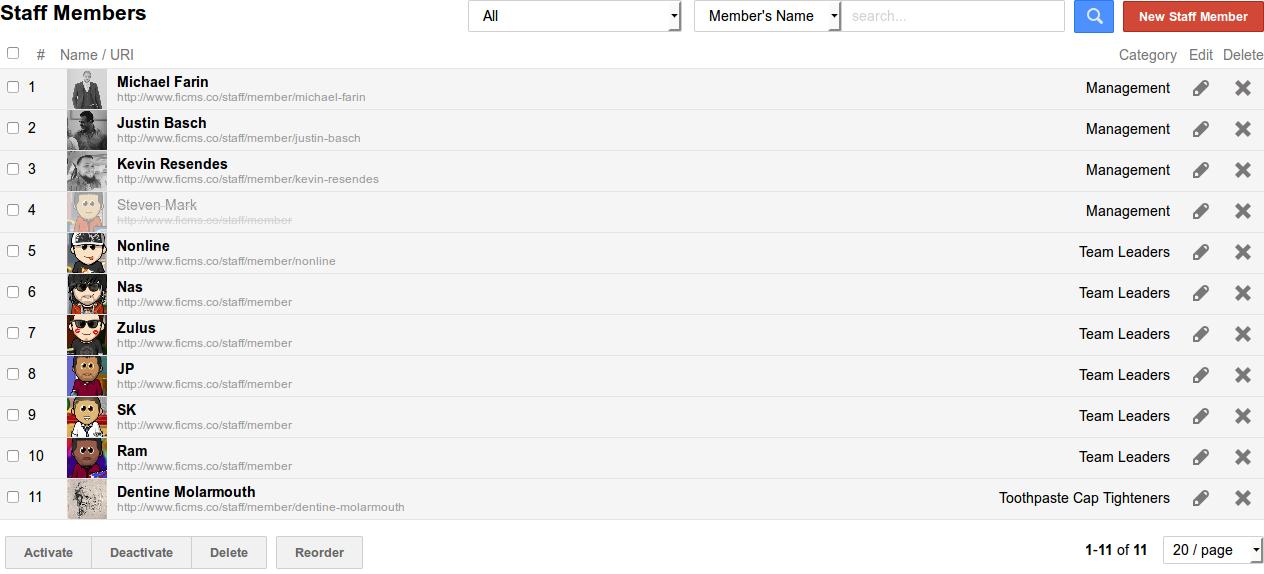
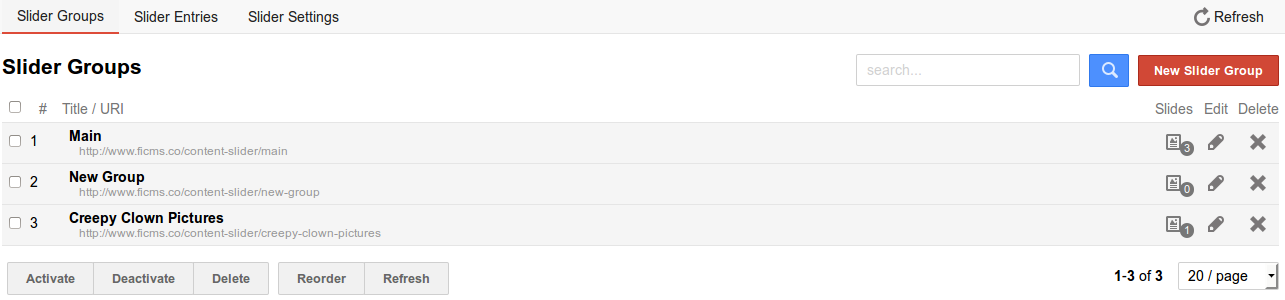
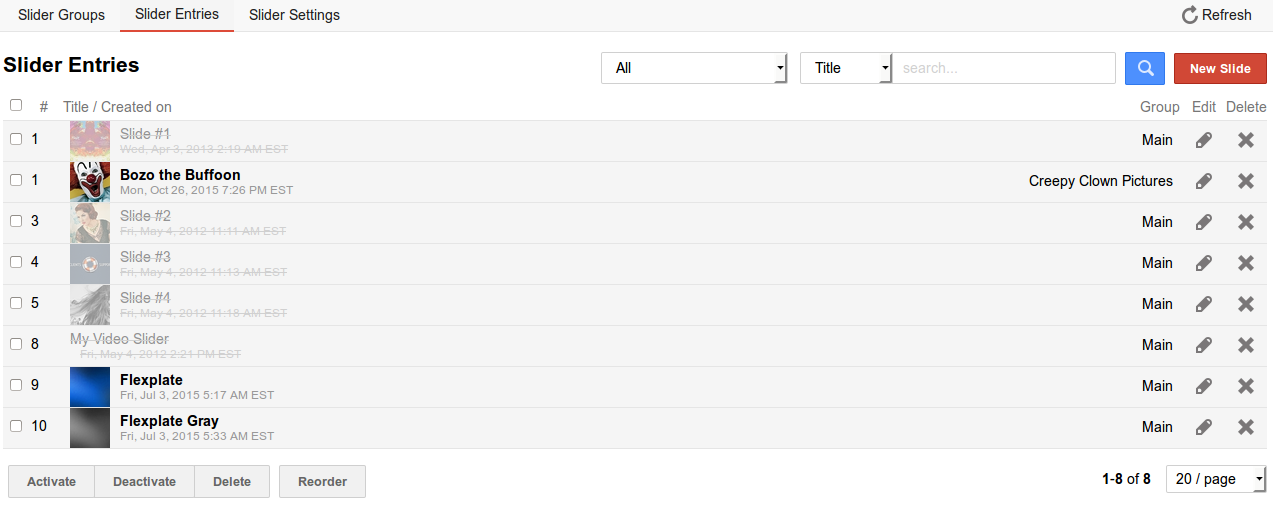
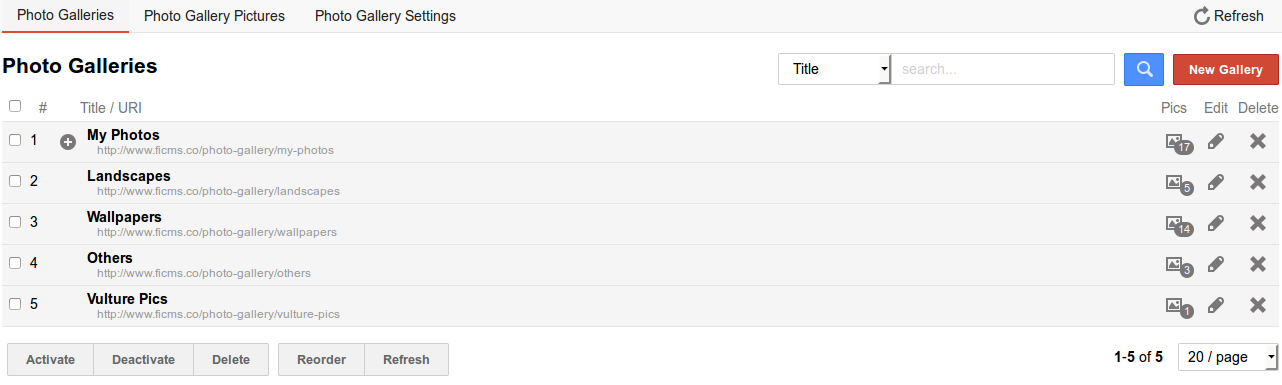
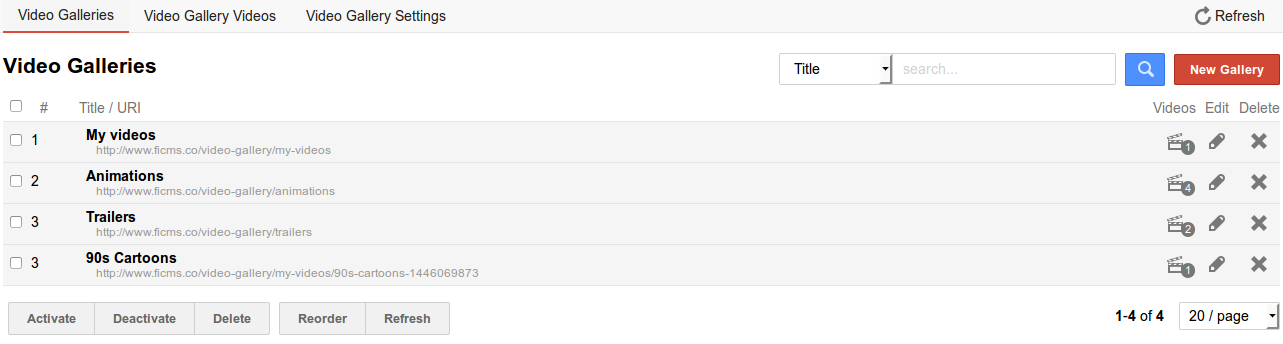
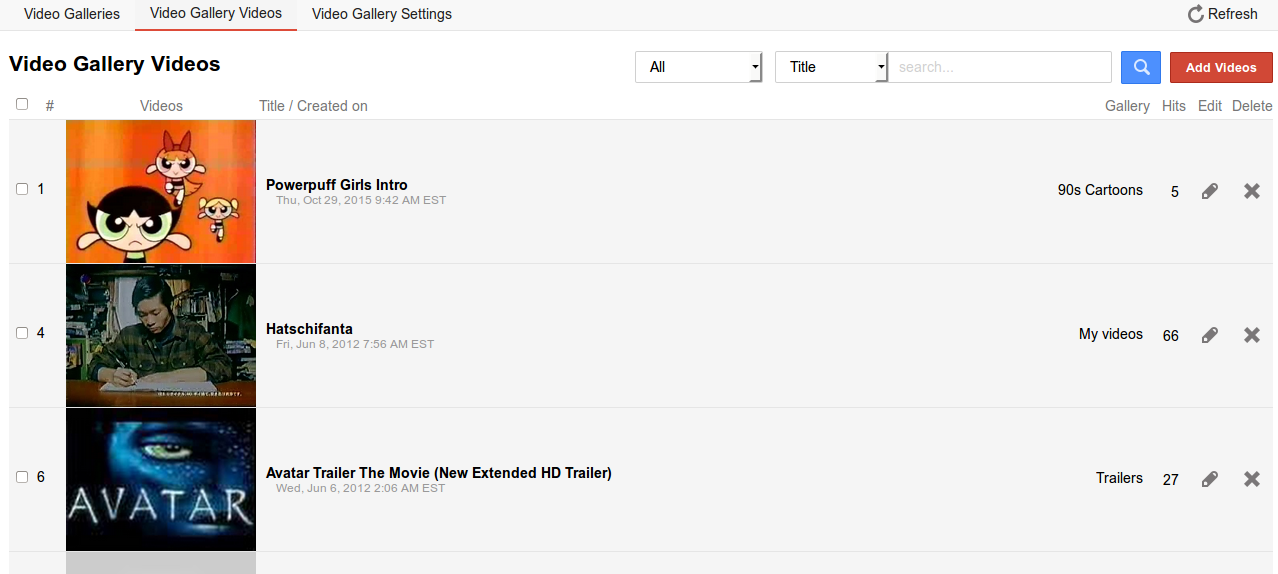
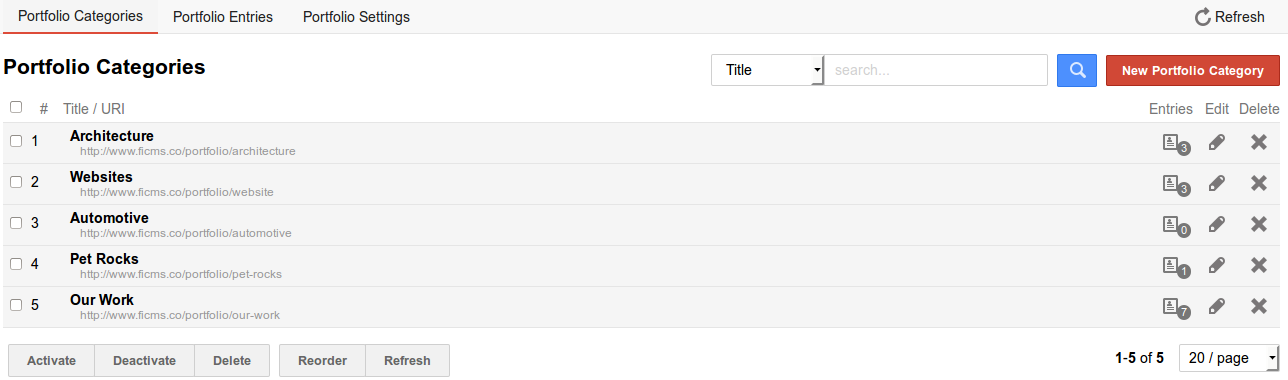
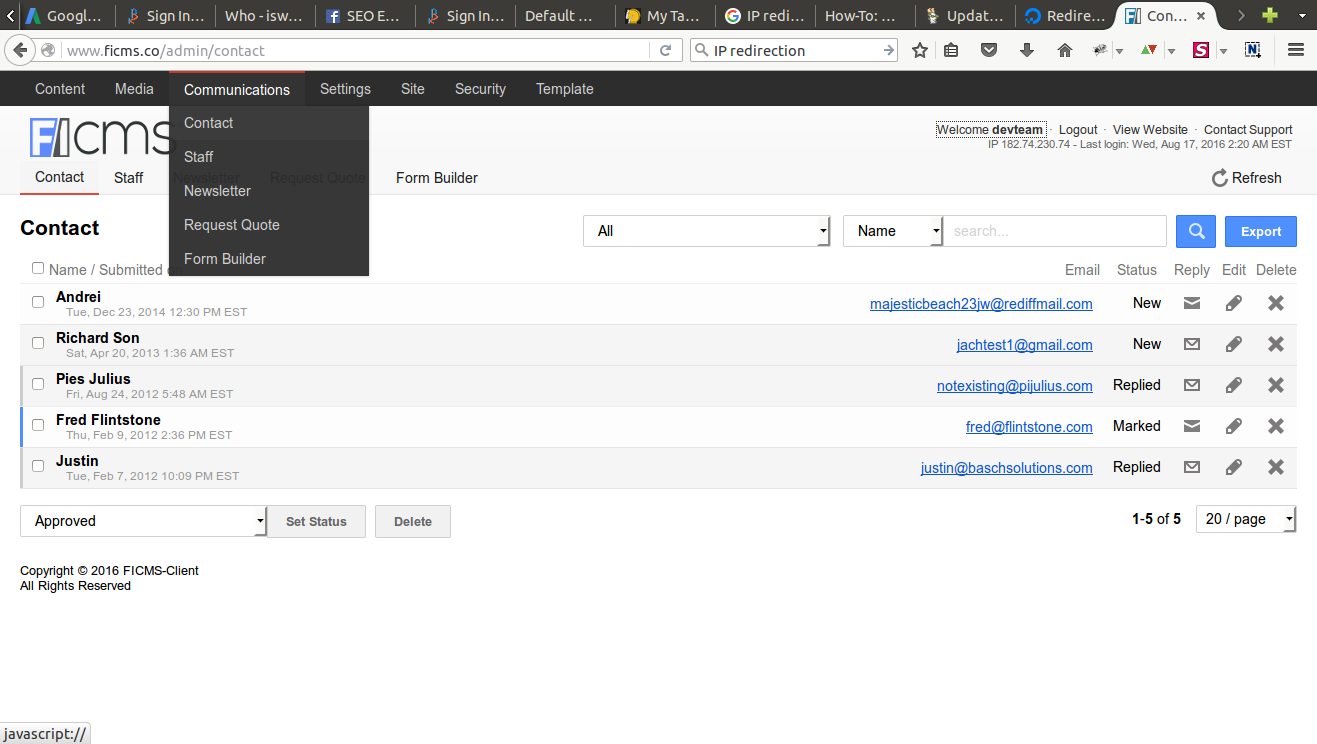
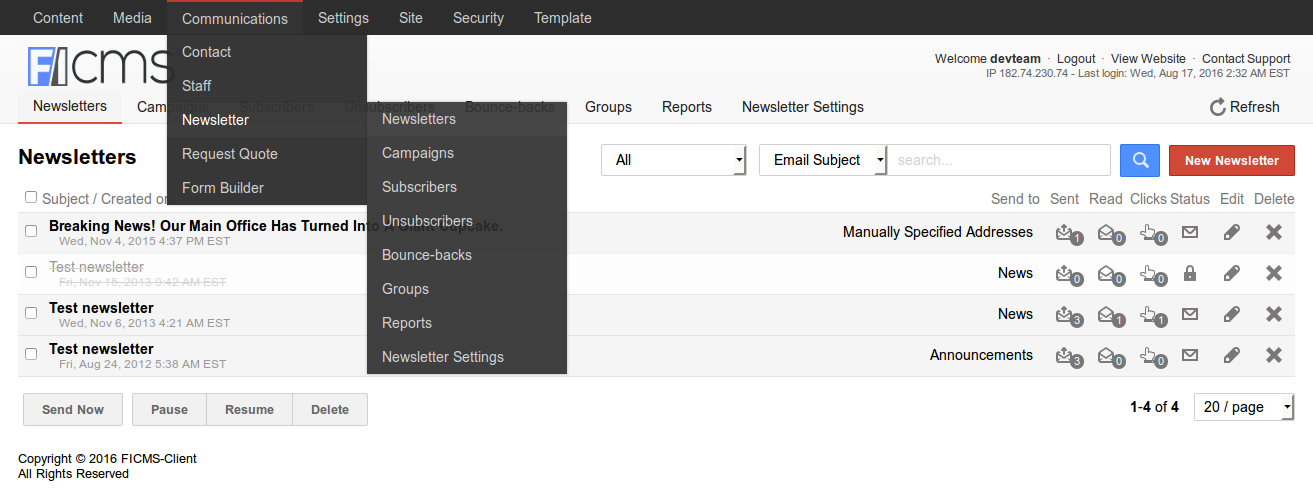
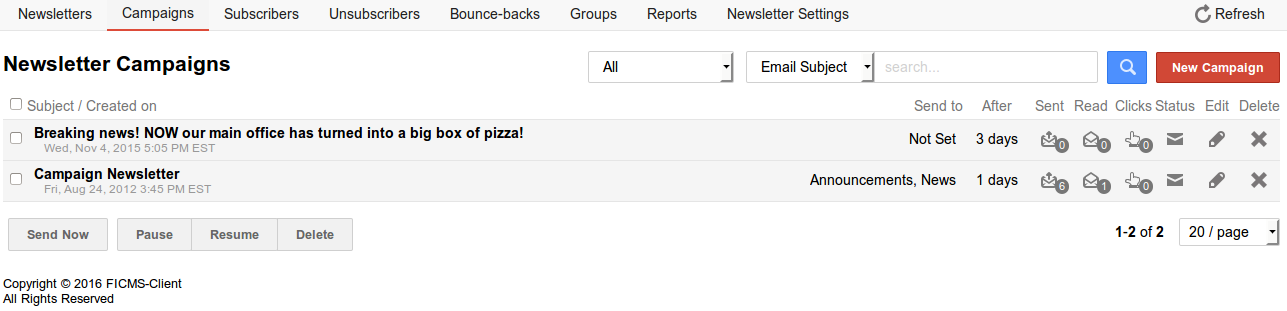
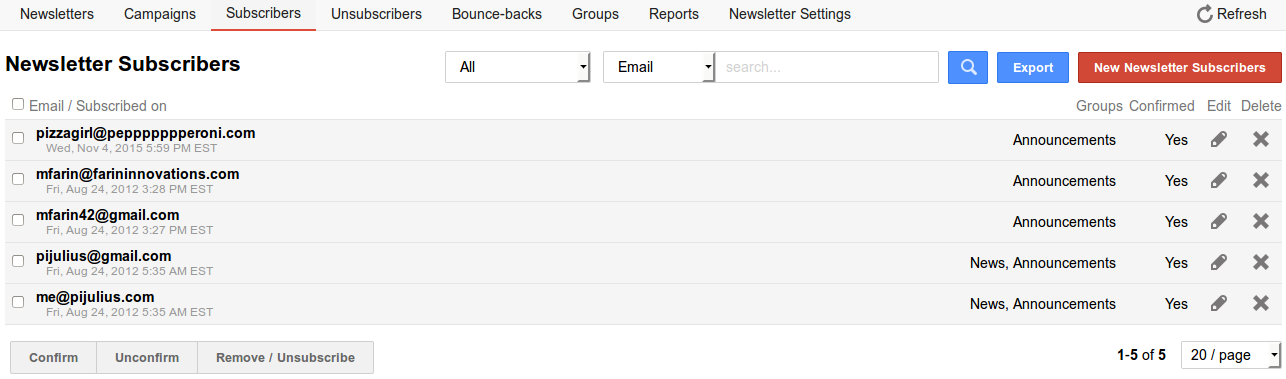
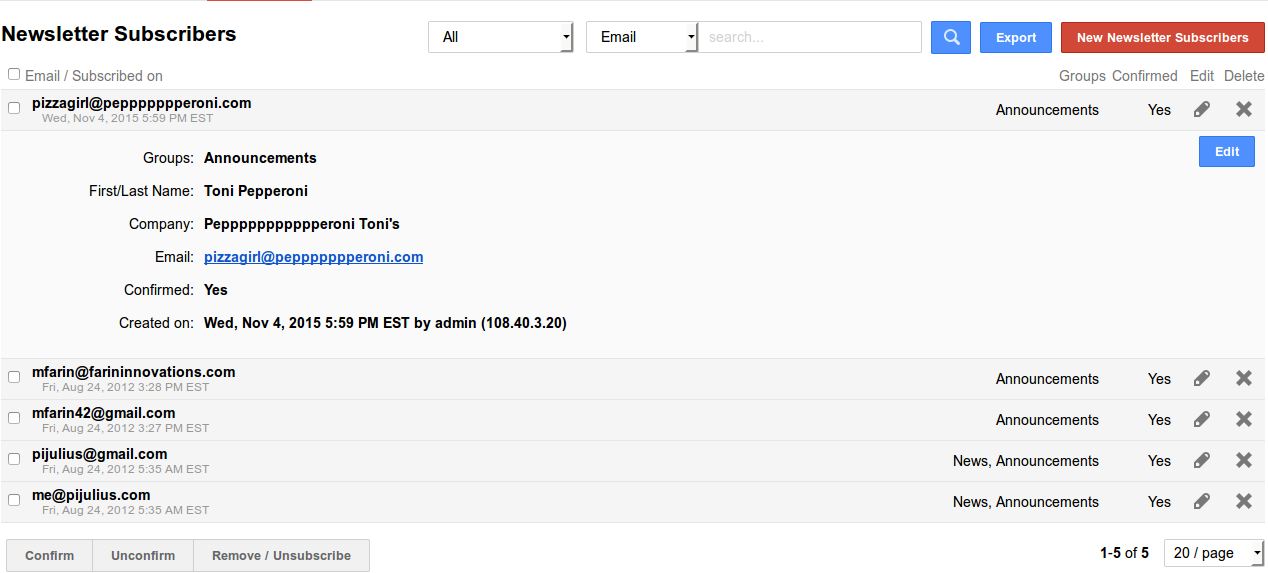
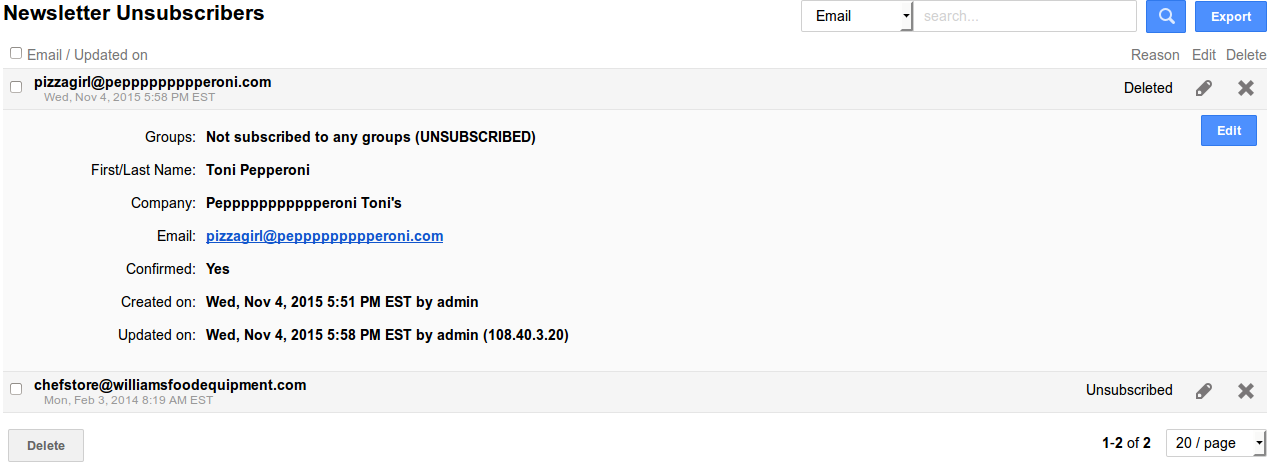
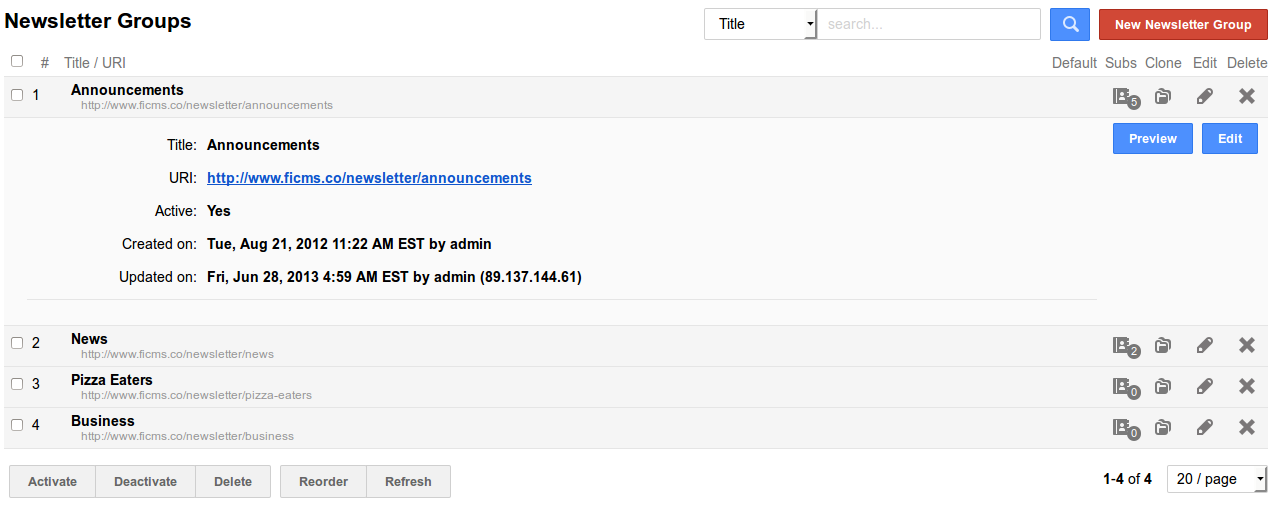
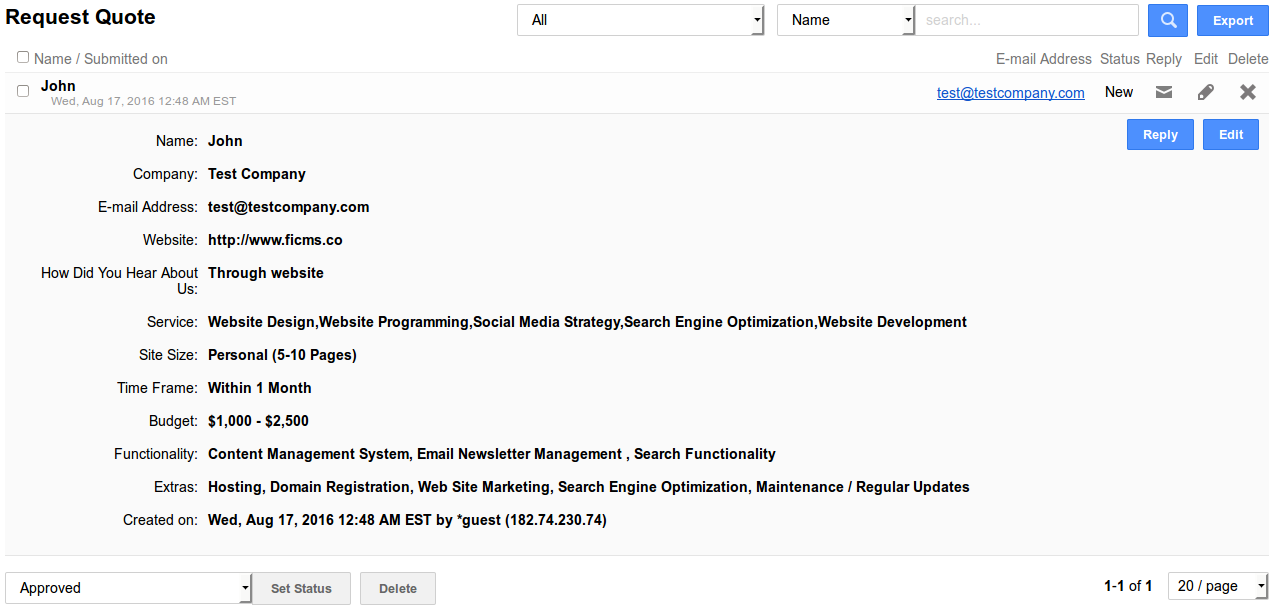
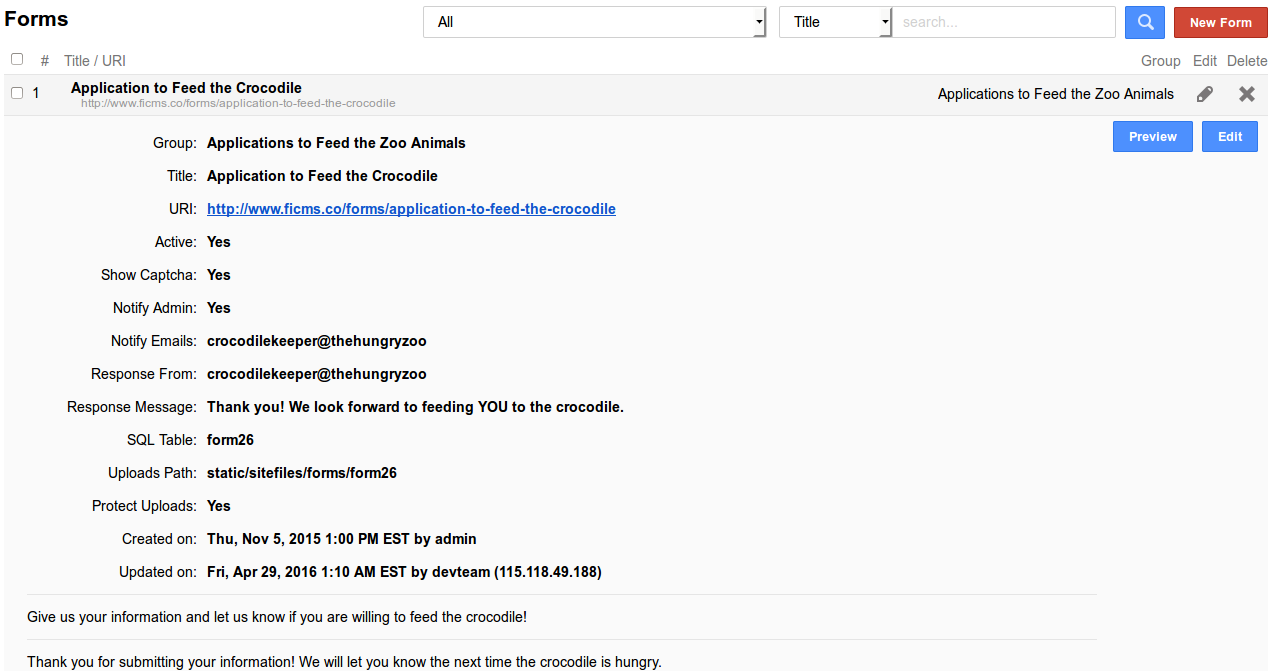
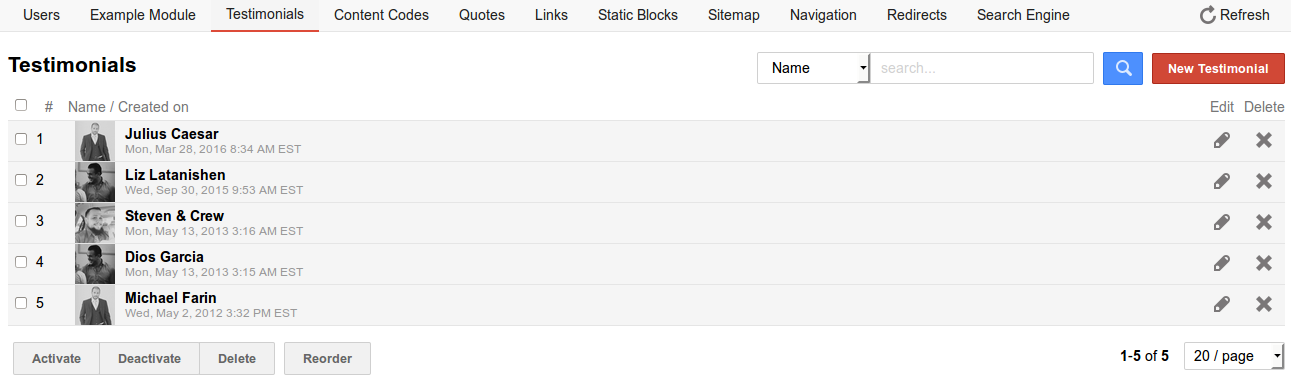
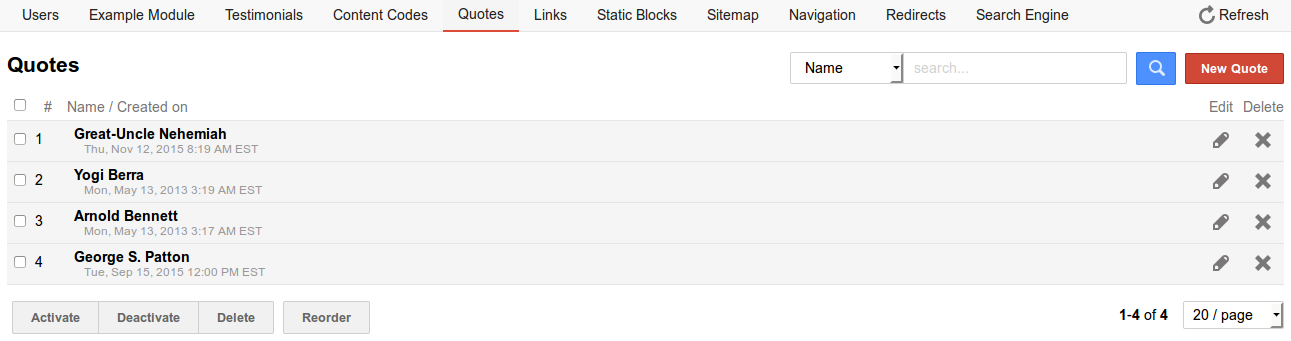
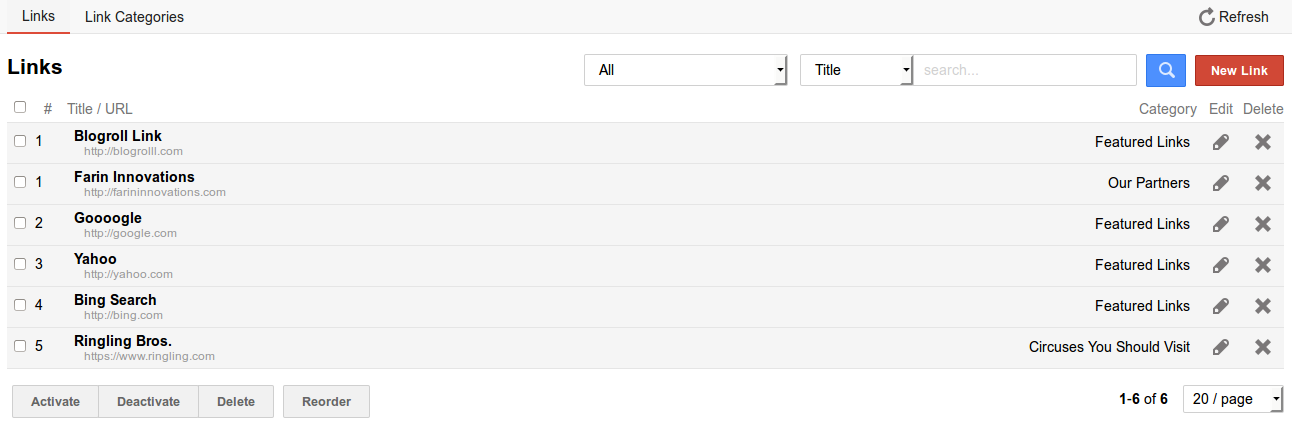
Search- The option to search within a section/module is present across all tabs in the admin panel under its particular section. It's easily accessible below the menu on the top right hand side of each section/module.- The
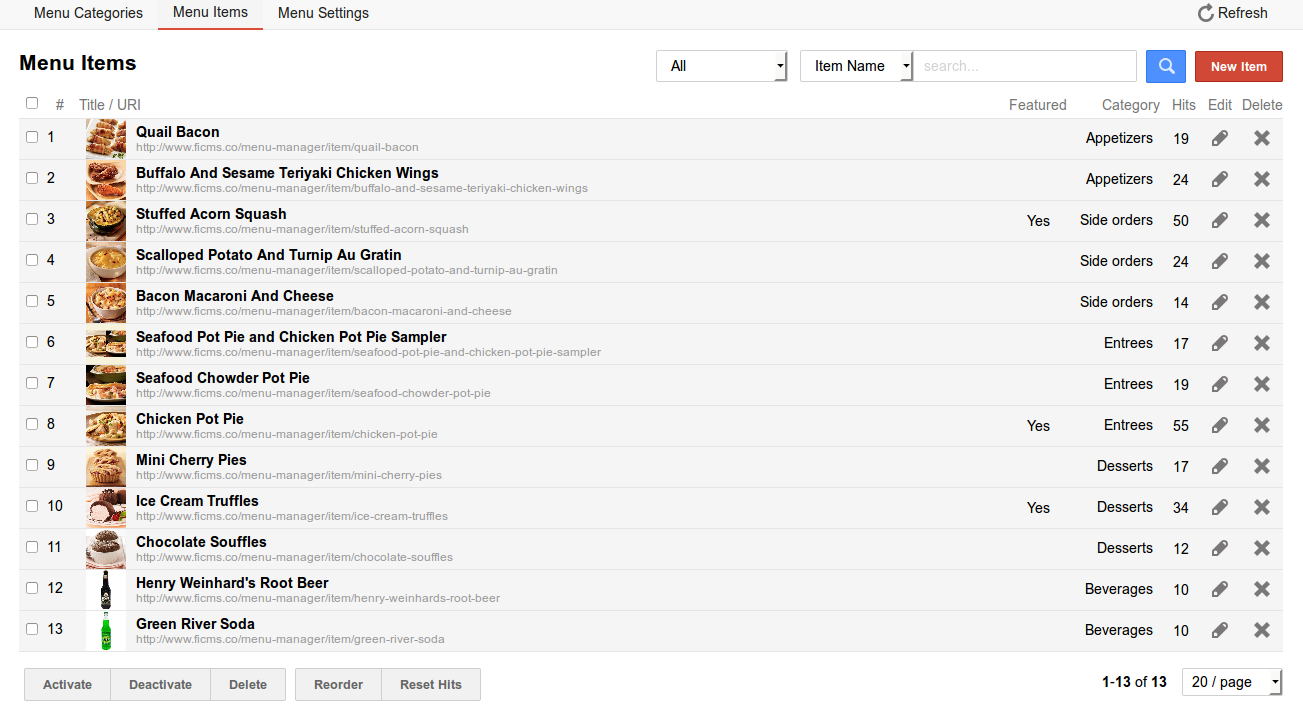
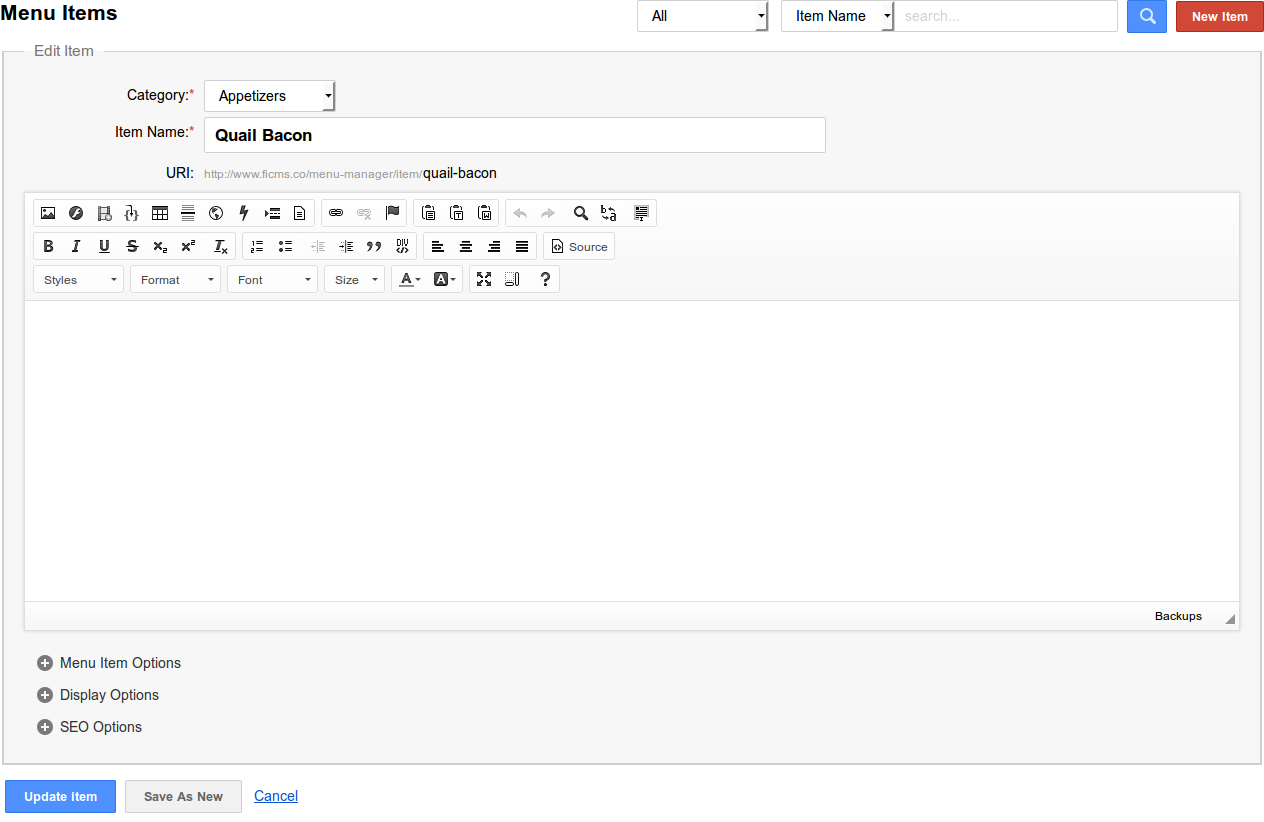
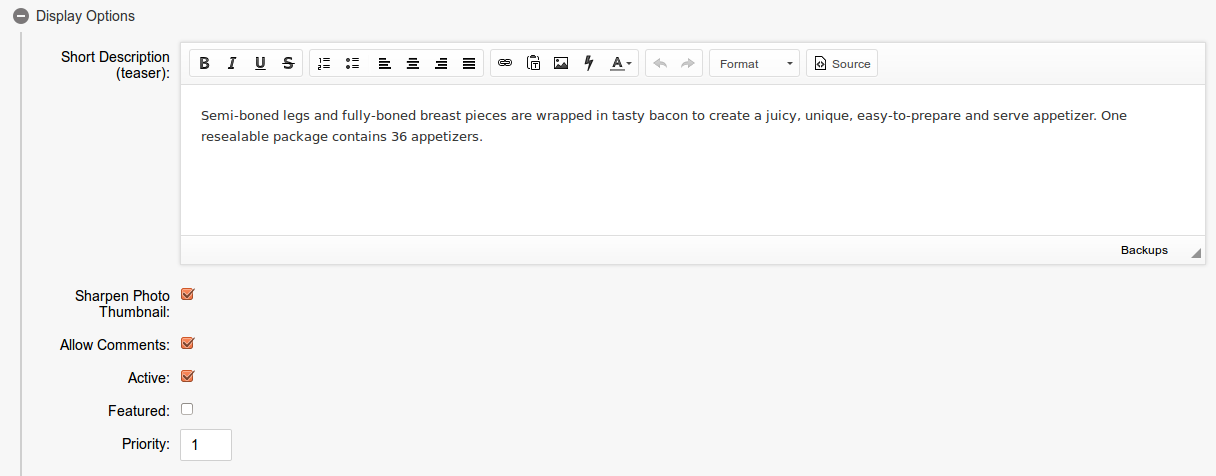
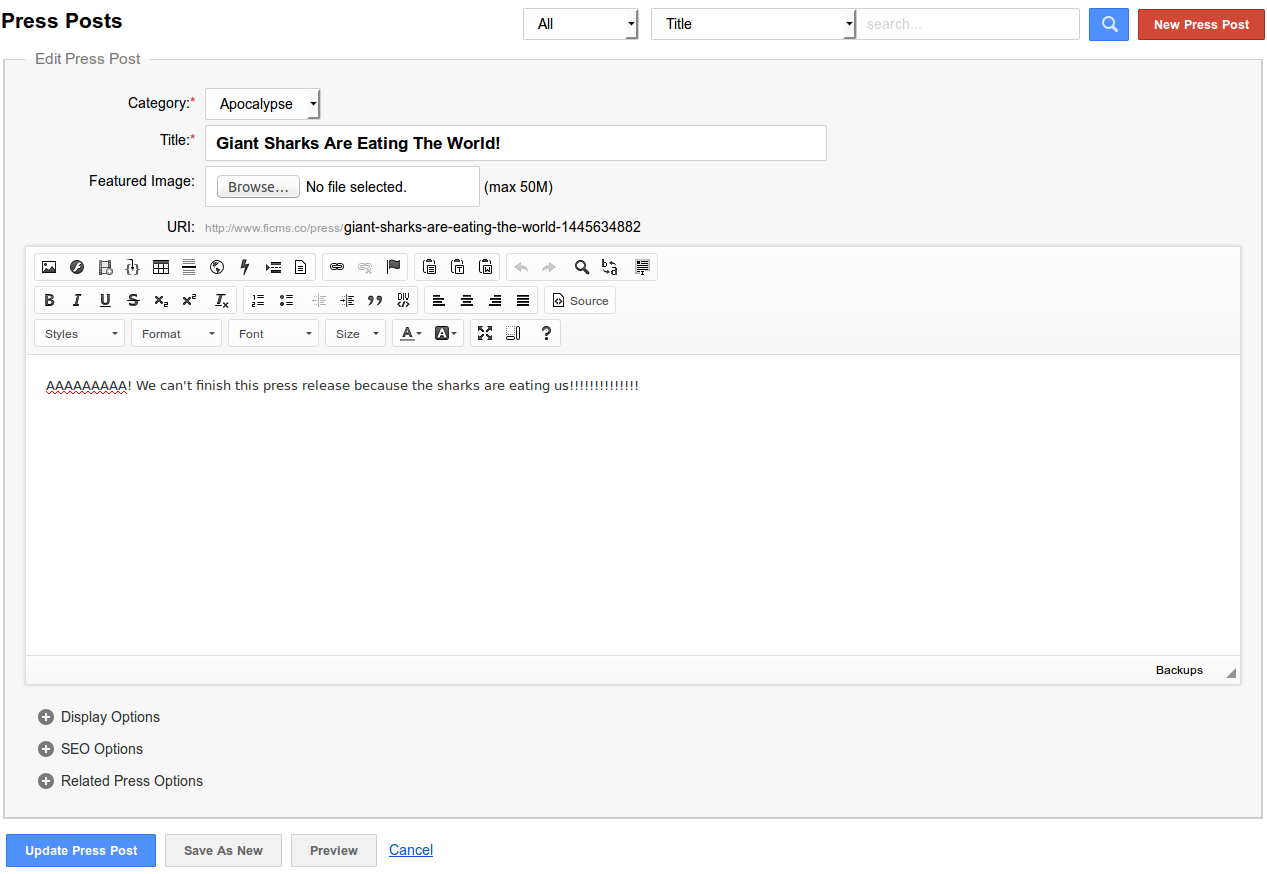
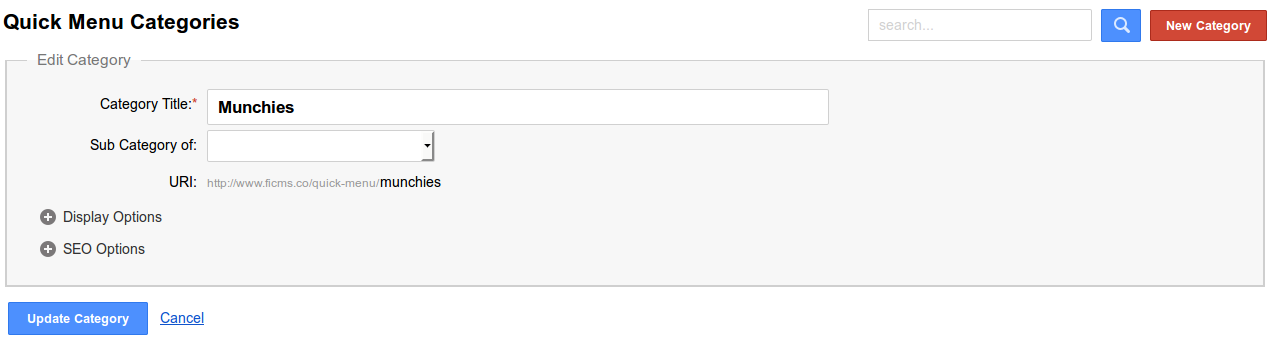
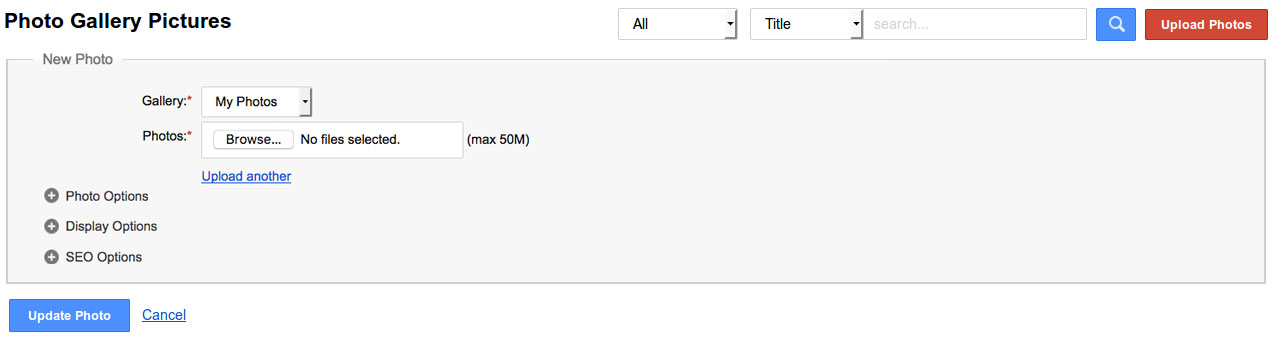
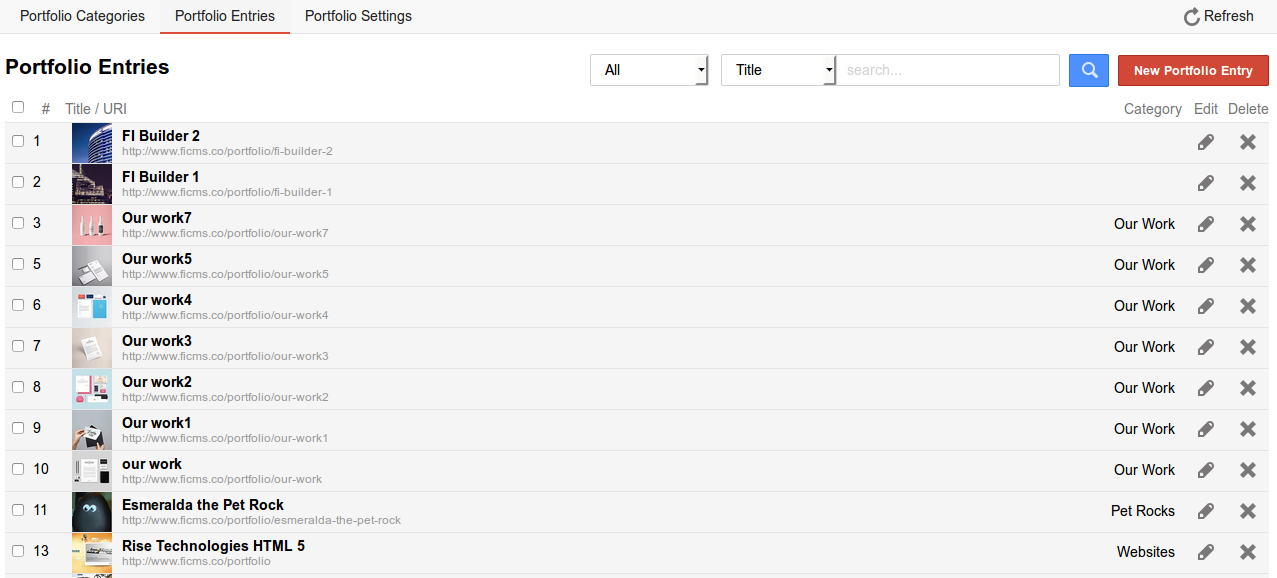
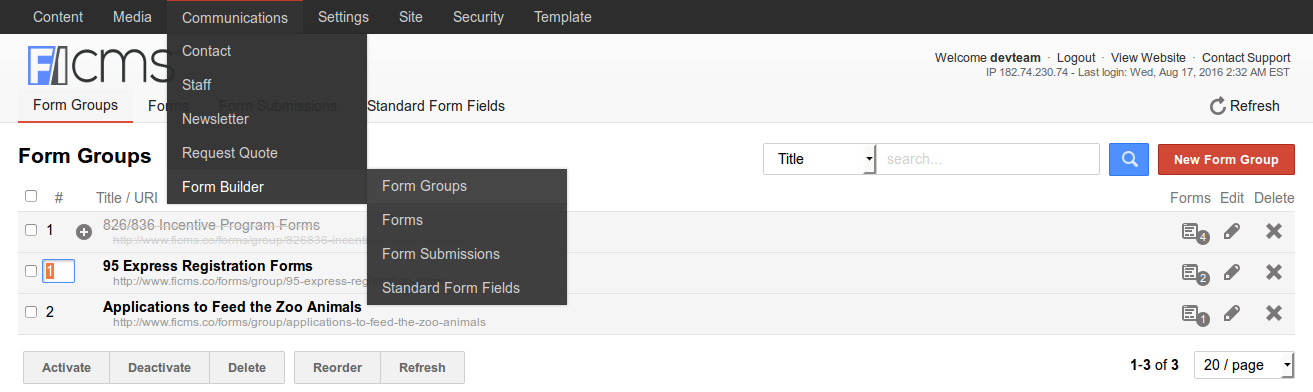
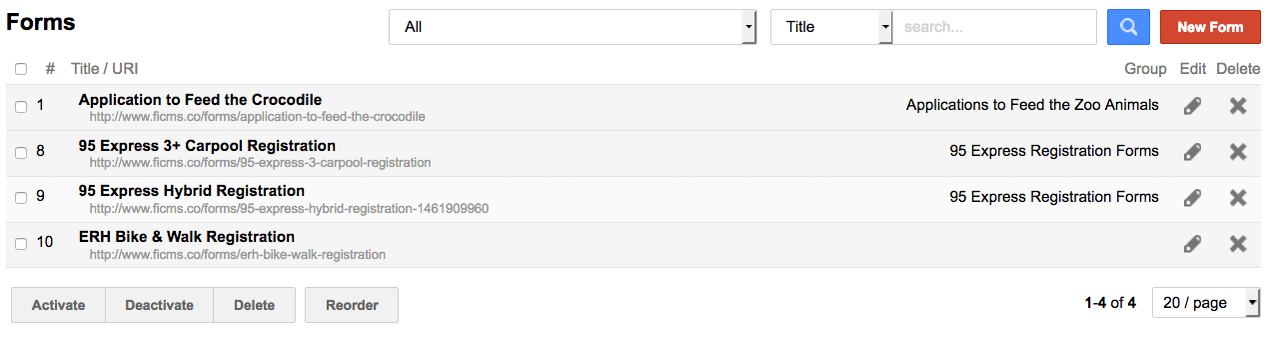
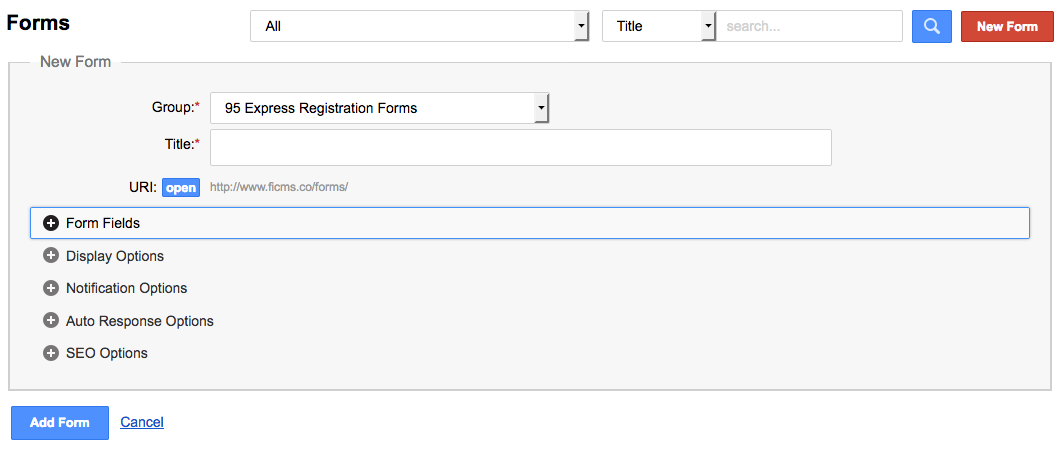
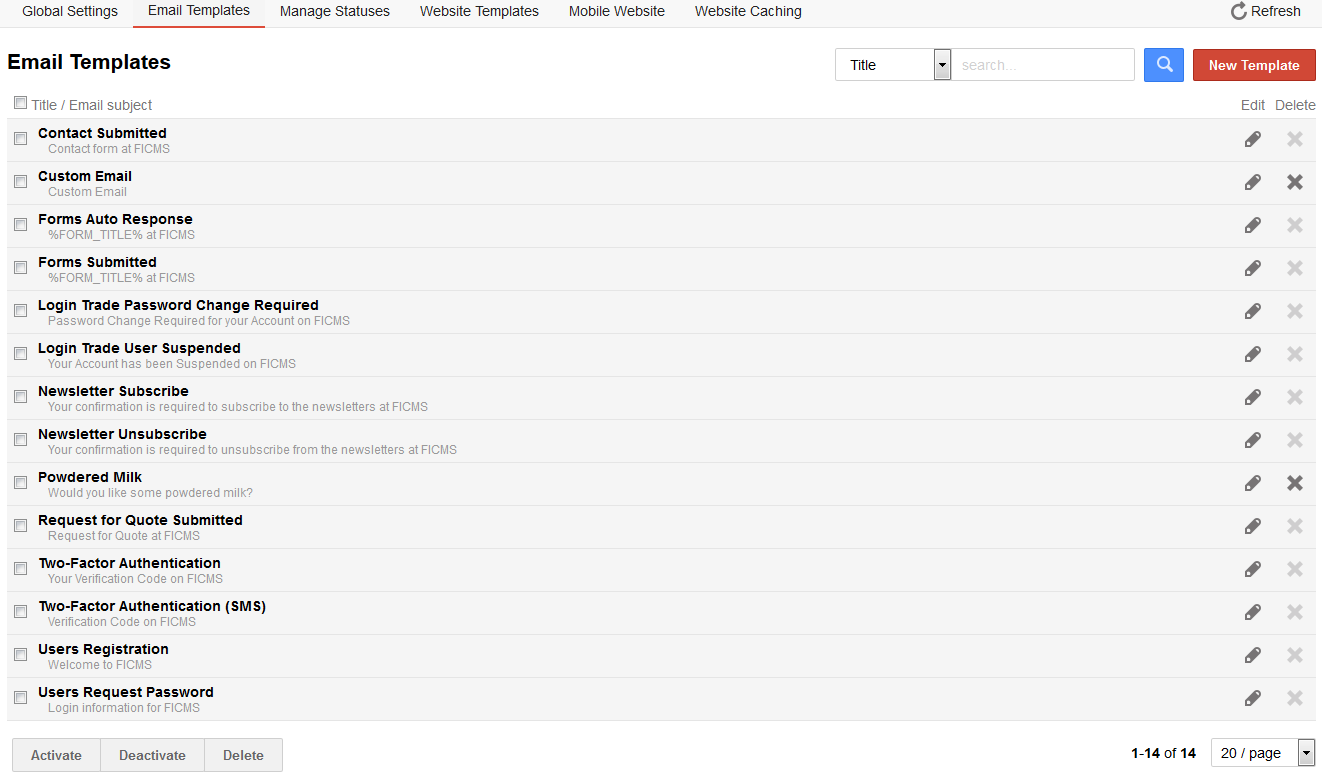
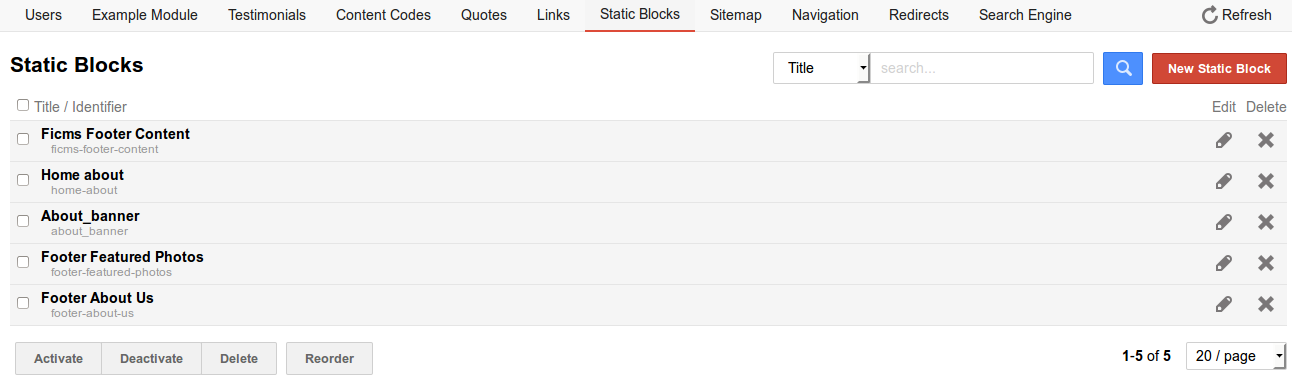
Add Newbutton is located in the top right corner of all applicable sections/modules in the admin panel. The button allows the admin to add new entries into the system for that particular section/module. - Common options like
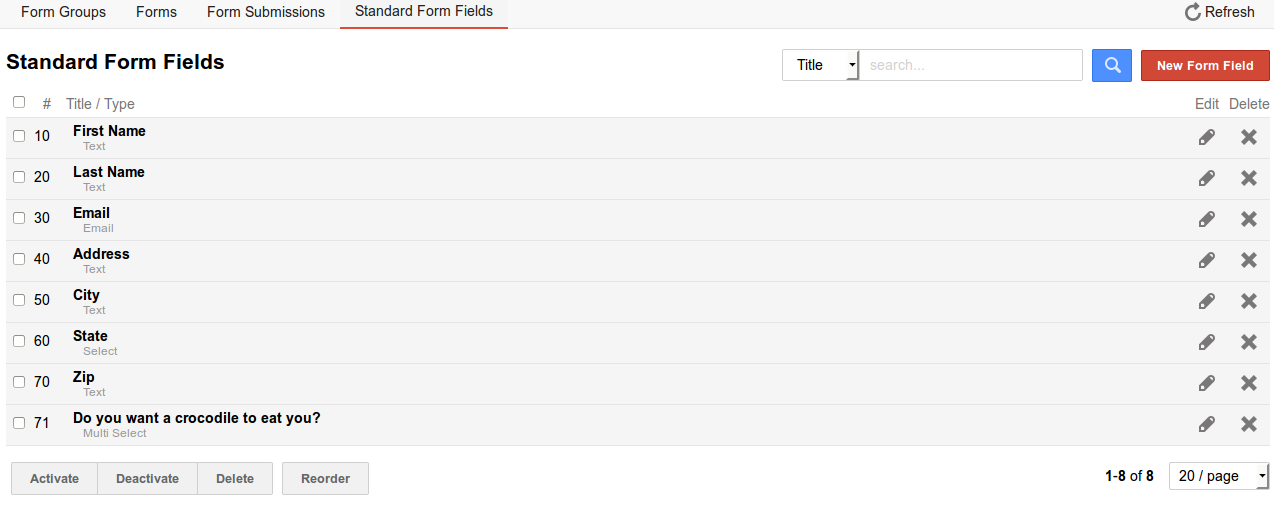
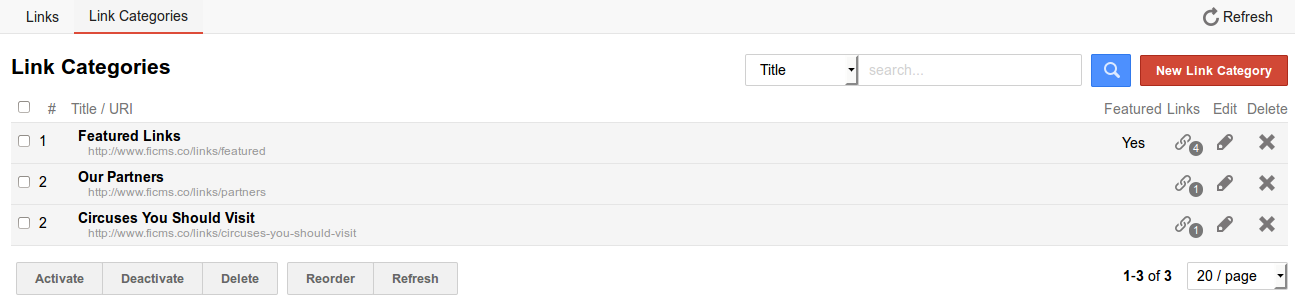
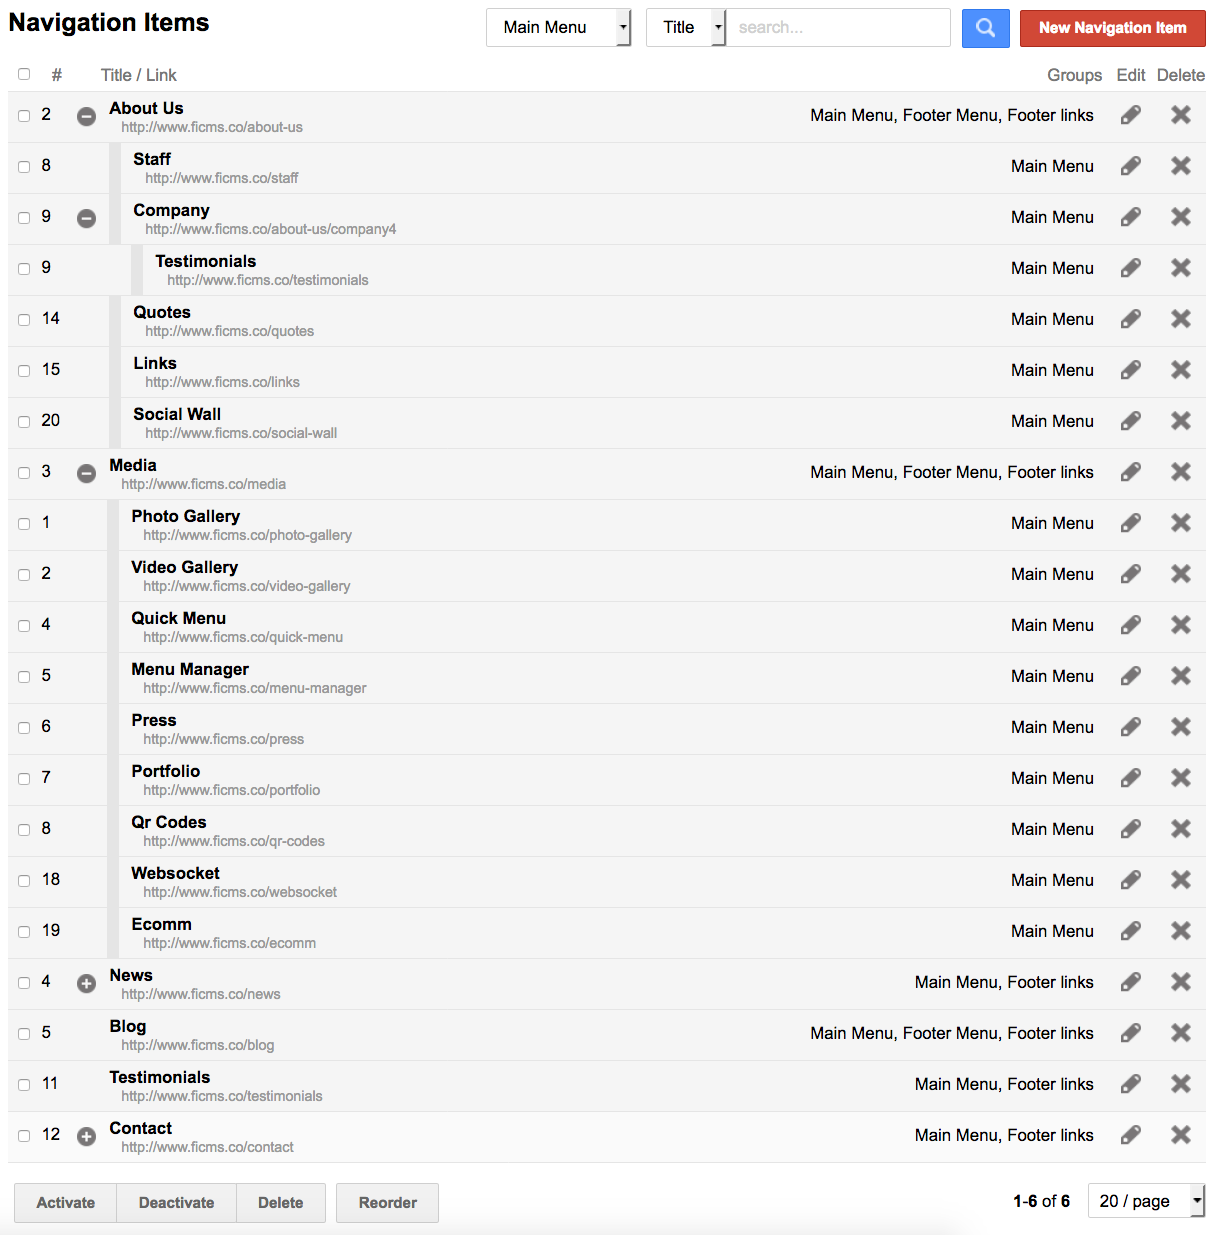
Activate,Deactivate,Delete,Reorder,Reset Hits, andRefreshare available in the bottom left corner, just below the list of entries in a particular section/module. When you select an entry (by checking the box next to the list of any entry) and press the appropriate option (the operation you want to perform), it will update the entry. TheActivatebutton will activate an entry so that it can be seen on the front end of the website. TheDeactivatebutton will deactivate an entry so that it can not be seen or used on the front end of the website. TheReorderbutton is used to change the position of an entry. Just enter a numerical value in the check box to the left of each row and pushReorder. TheHitscolumn shows the hit counts for each entry, and theReset Hitsbutton resets the Hits column back to 0 when reset. TheRefreshbutton will update the list and show new counts for each applicable section/module. - Individual
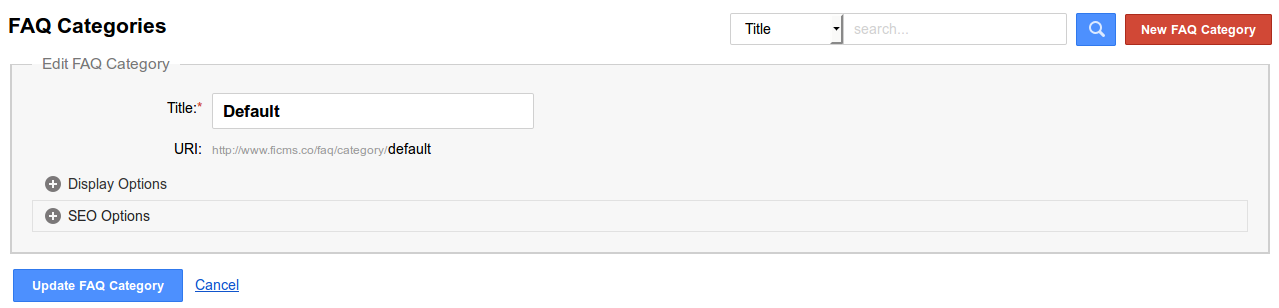
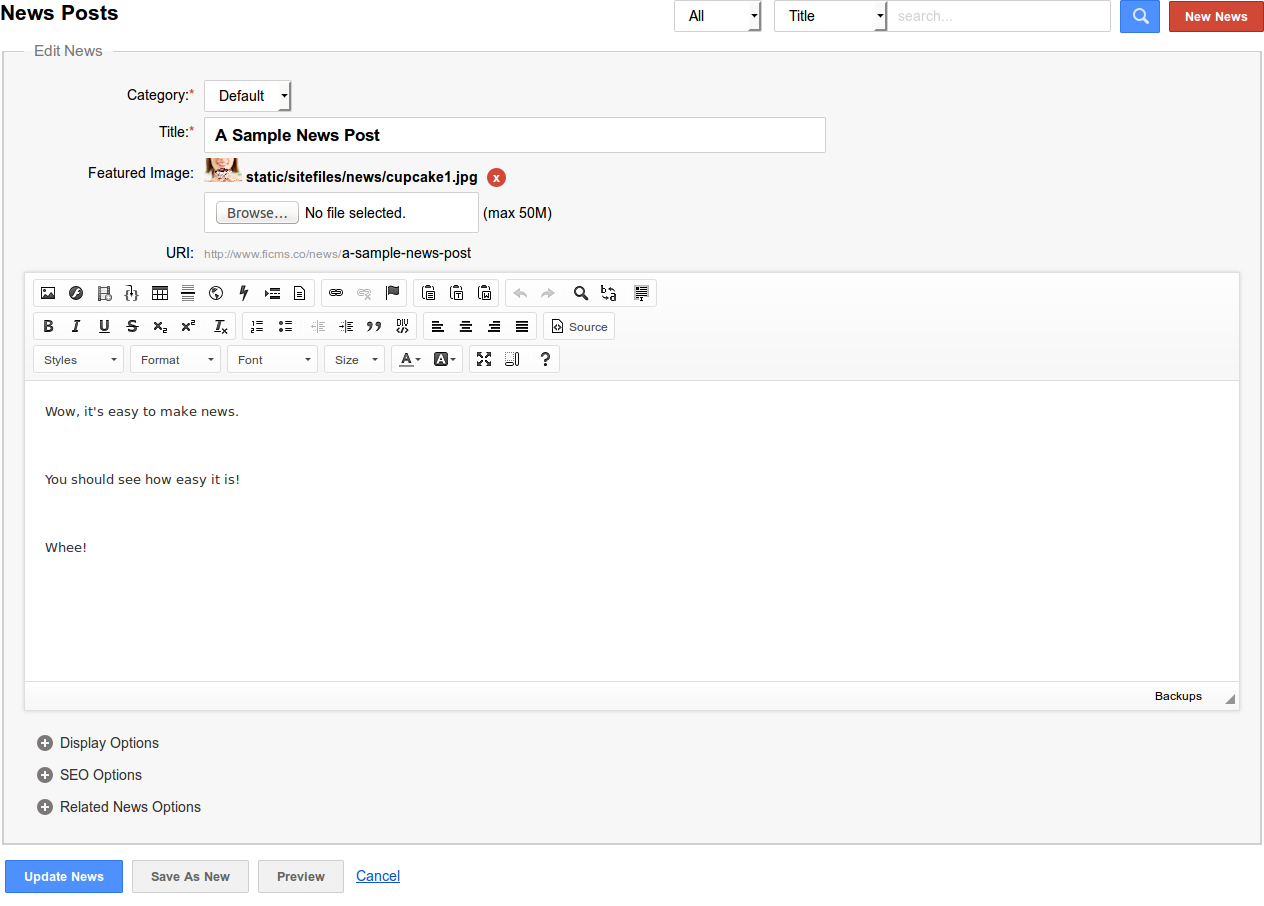
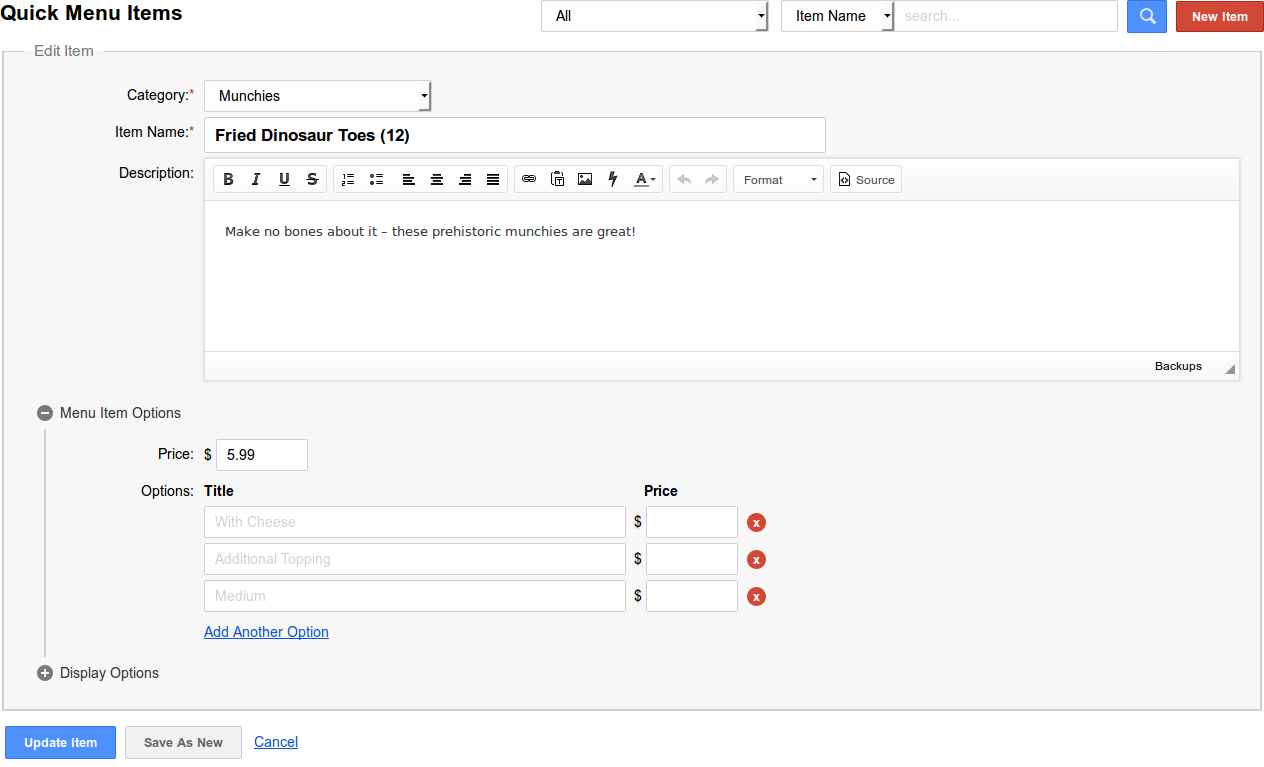
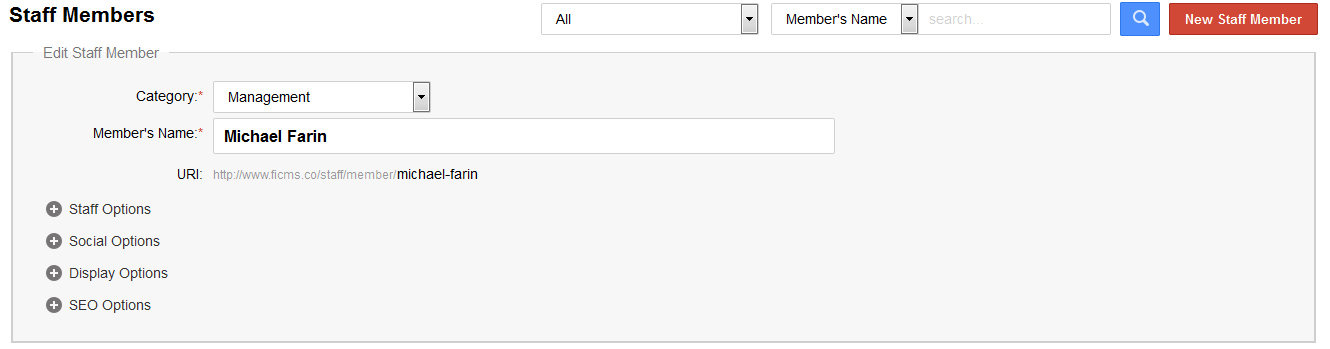
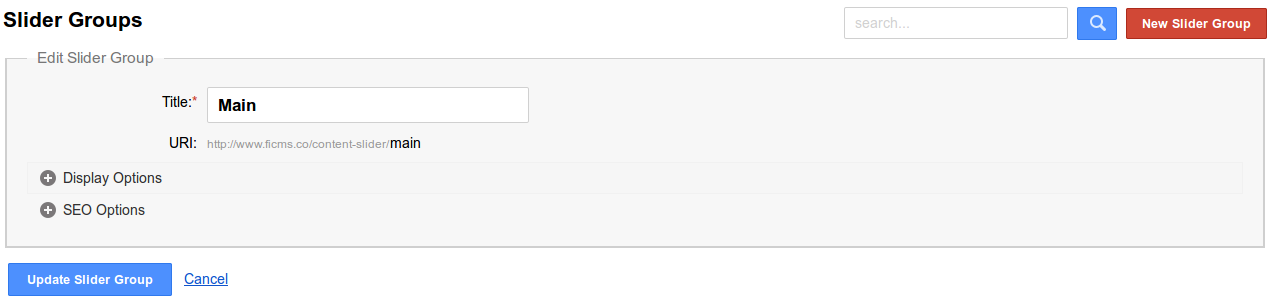
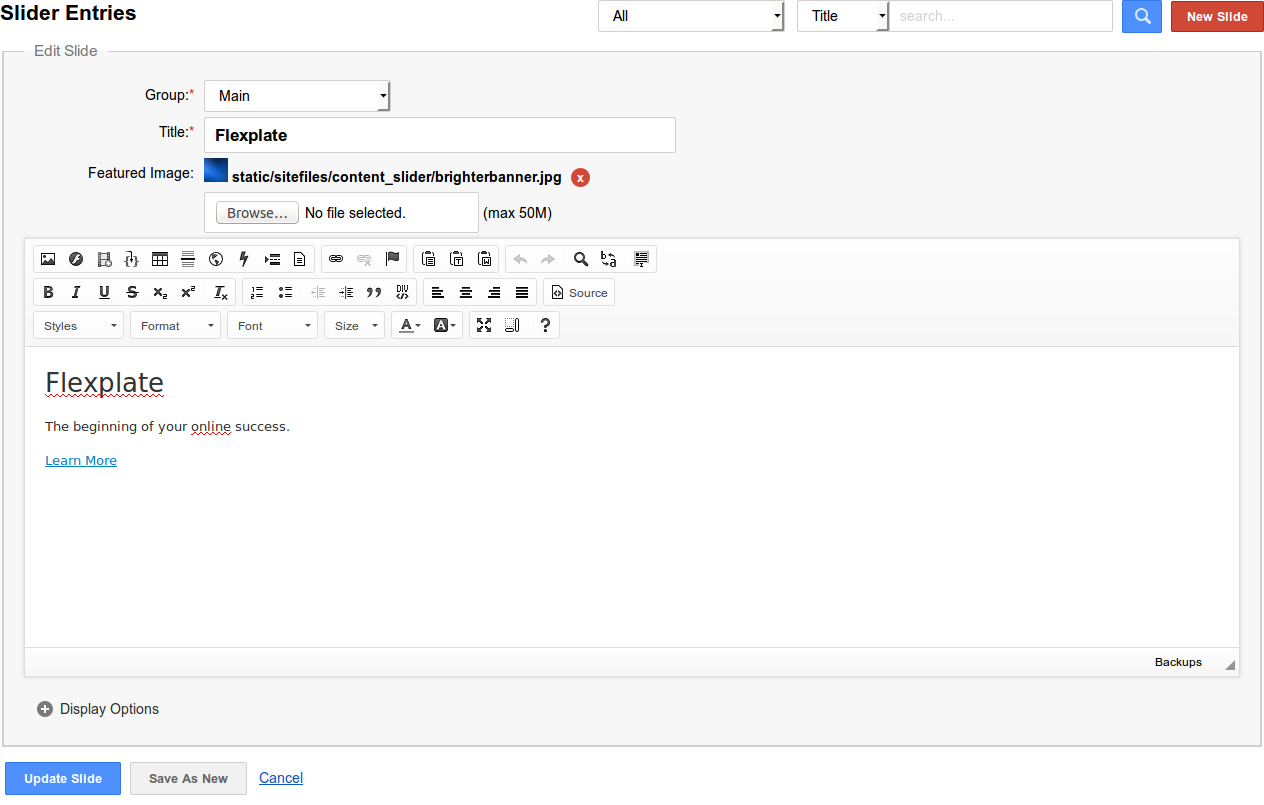
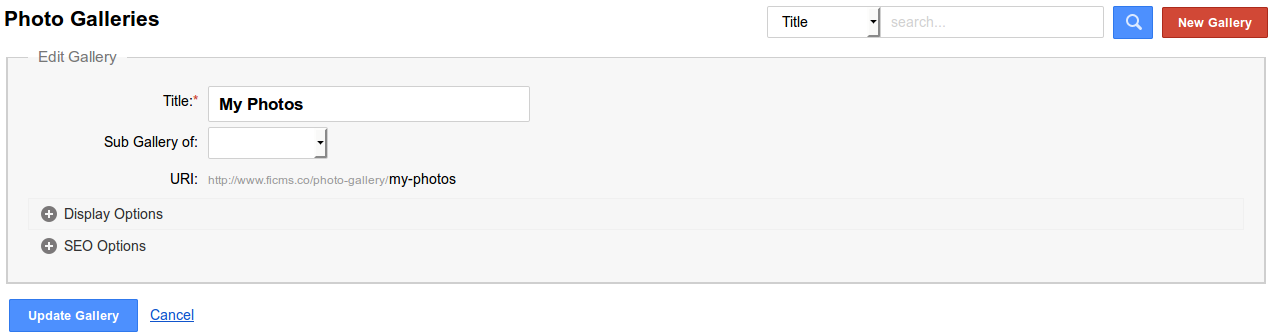
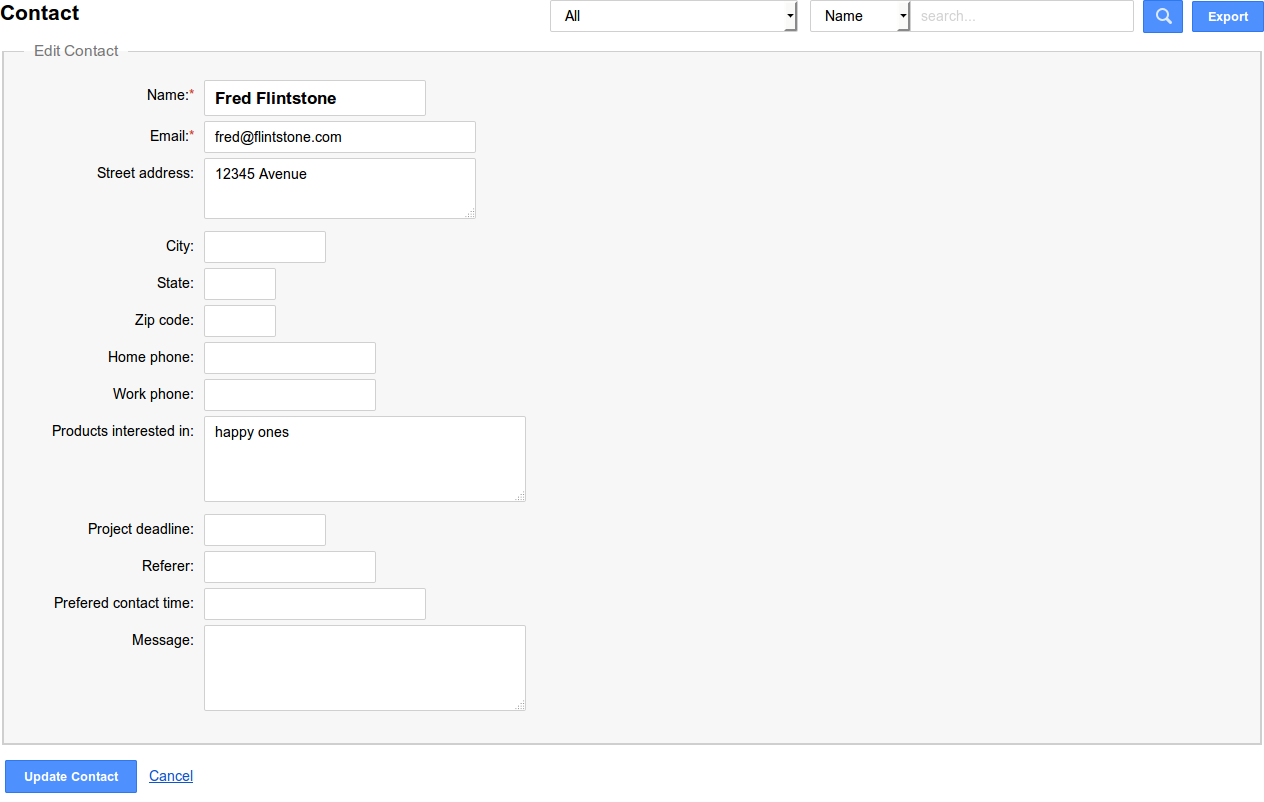
EditandDeleteoptions are available for each entry, and are located in the right corner of each row.